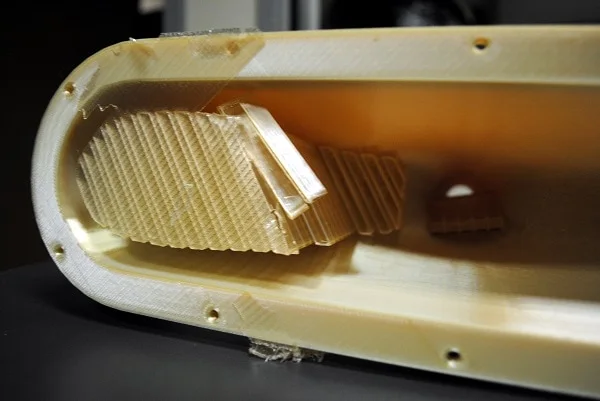
Support and powder removal
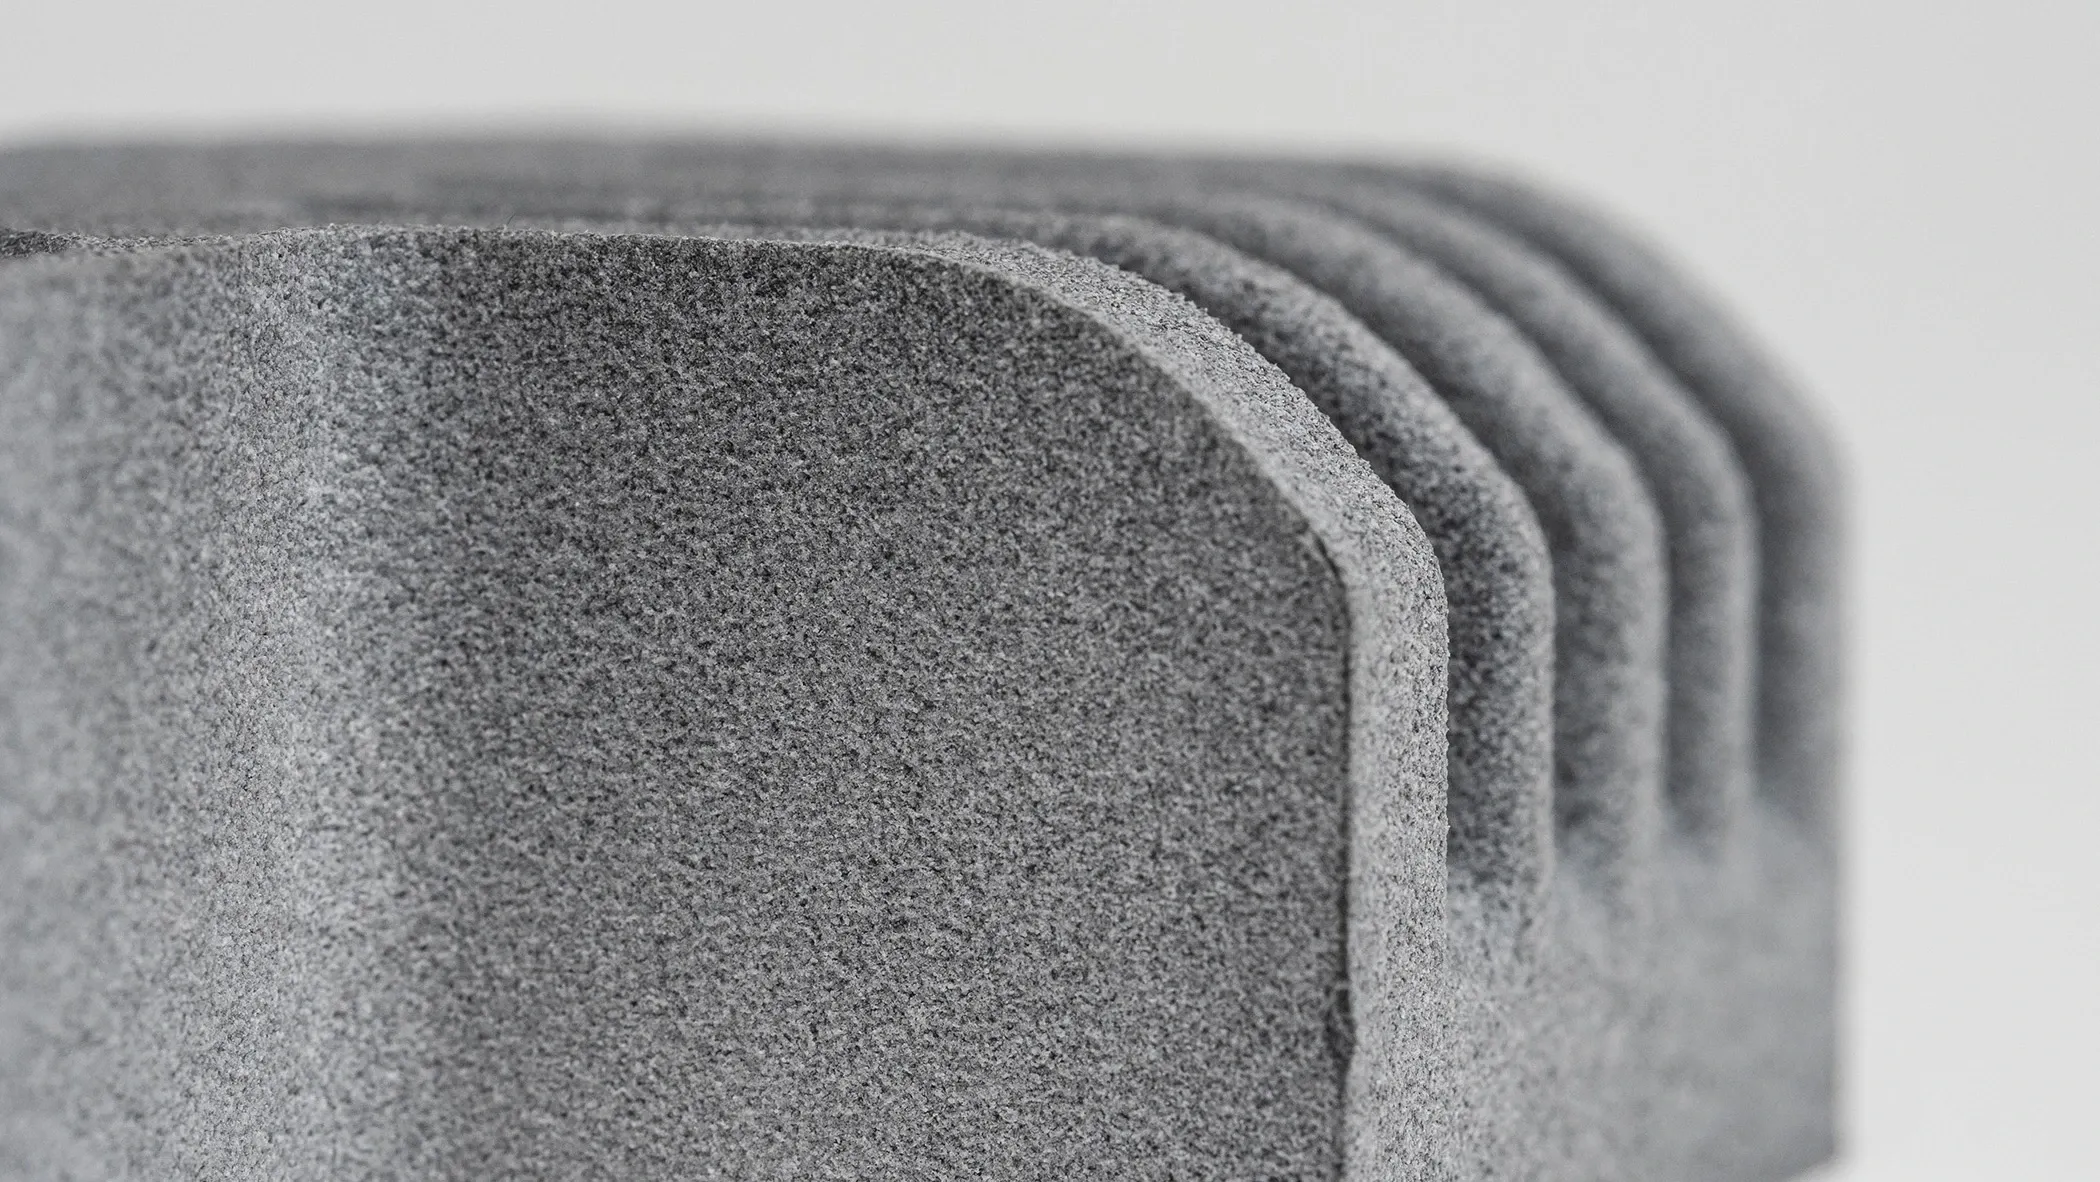
Supports and loose powder removed by a method suited to the material, with fine features protected.
Industries
Parts and tooling for sectors where downtime is expensive and paperwork matters.
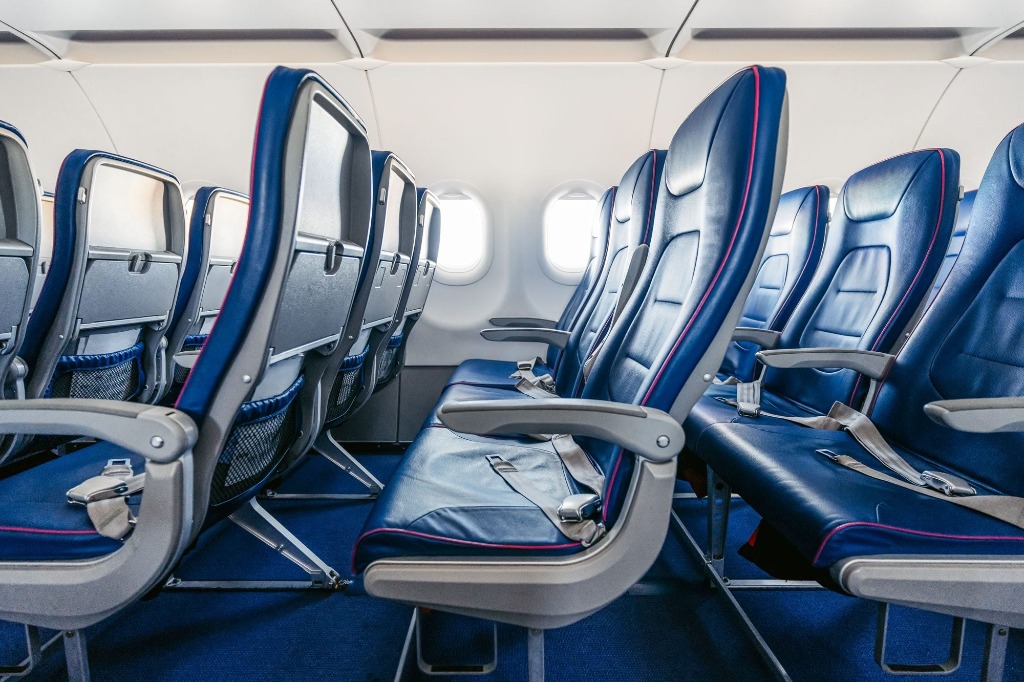
All industries AviationCabin interior parts released with EASA Form 1.
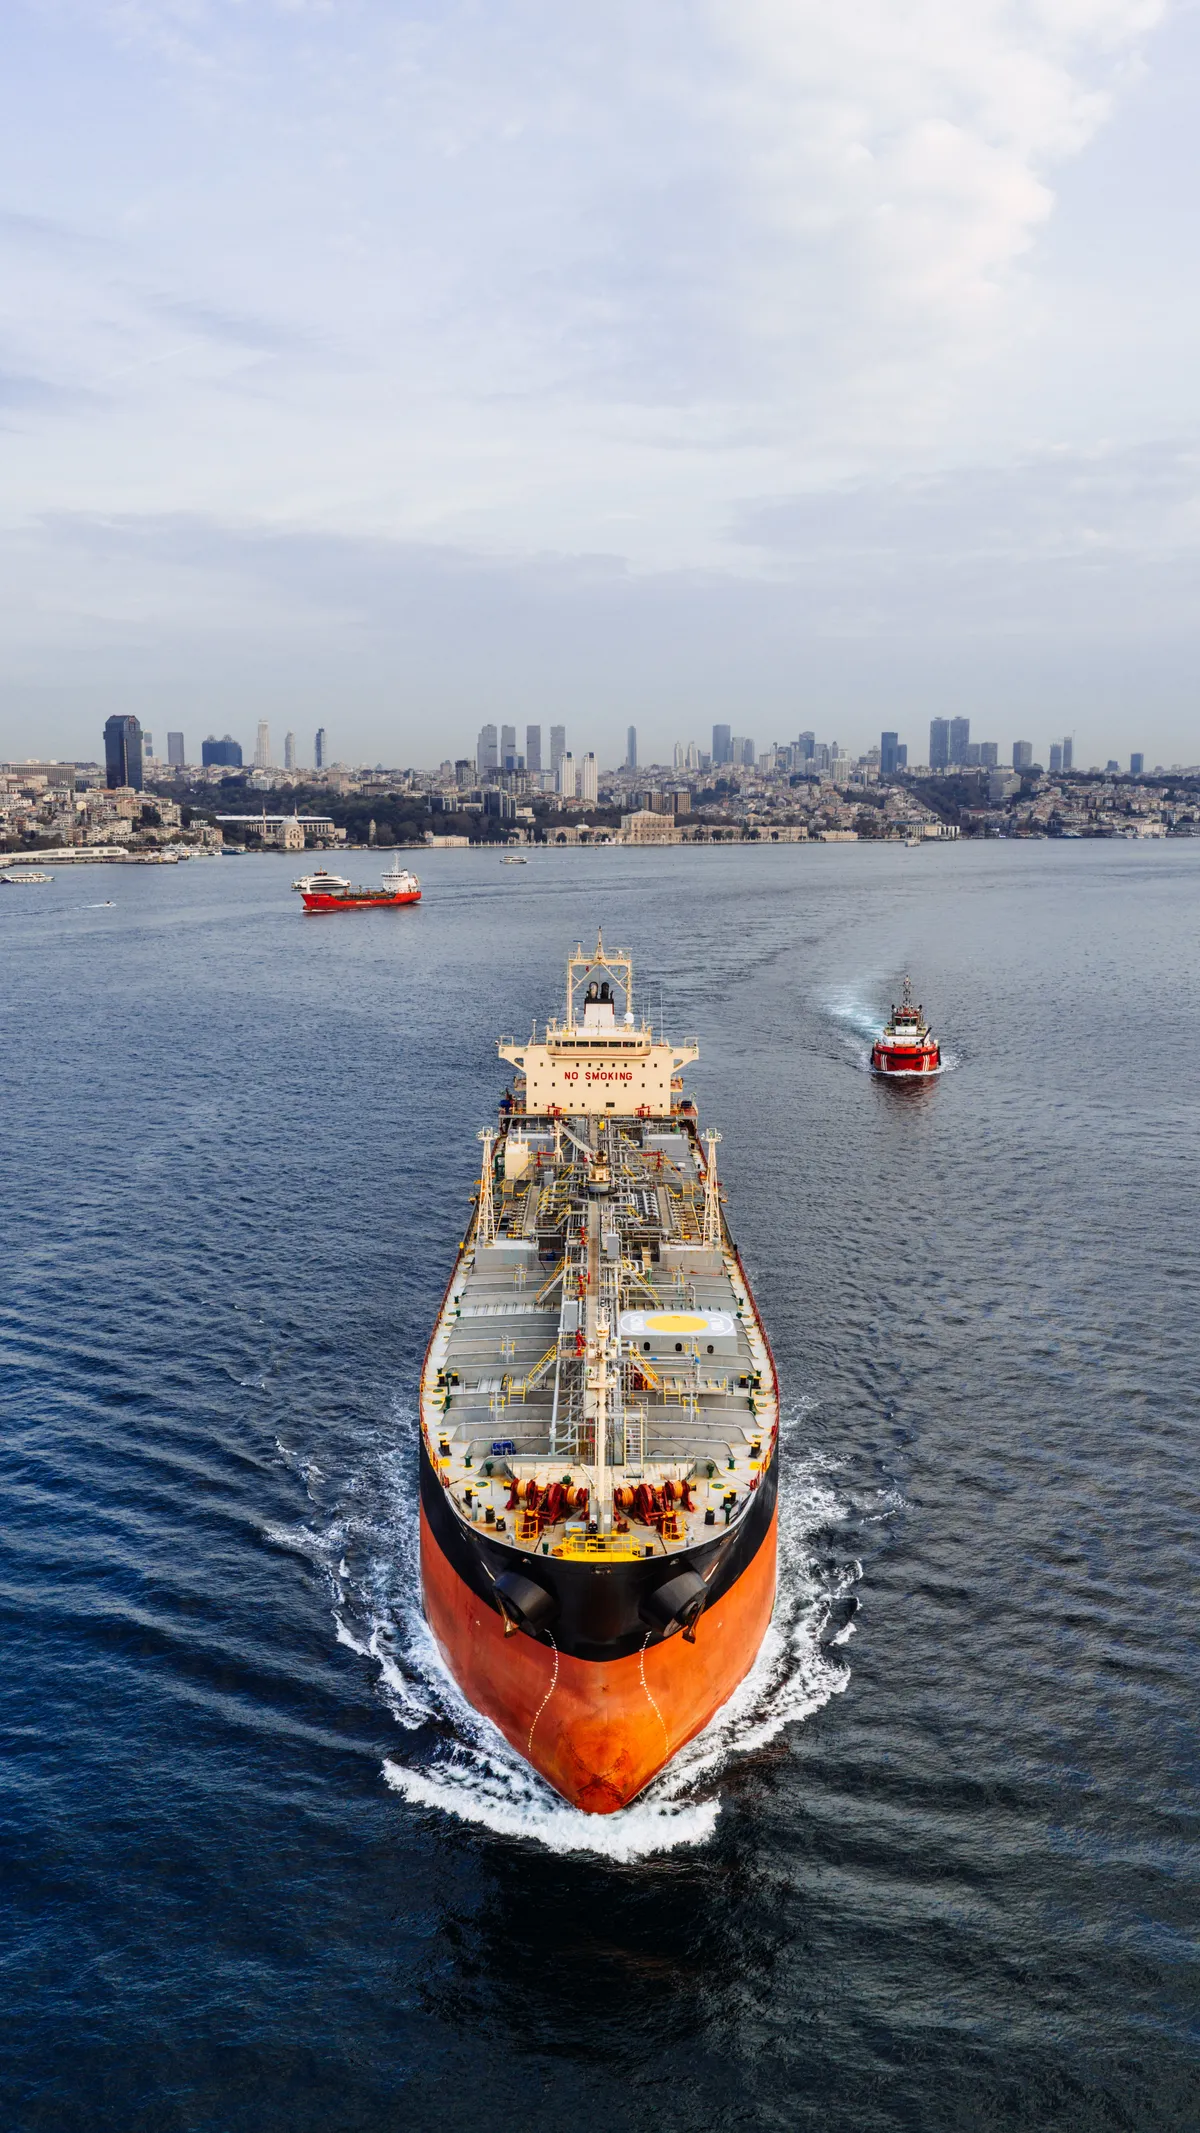 MaritimeReplacement parts and tooling that keep vessels running.
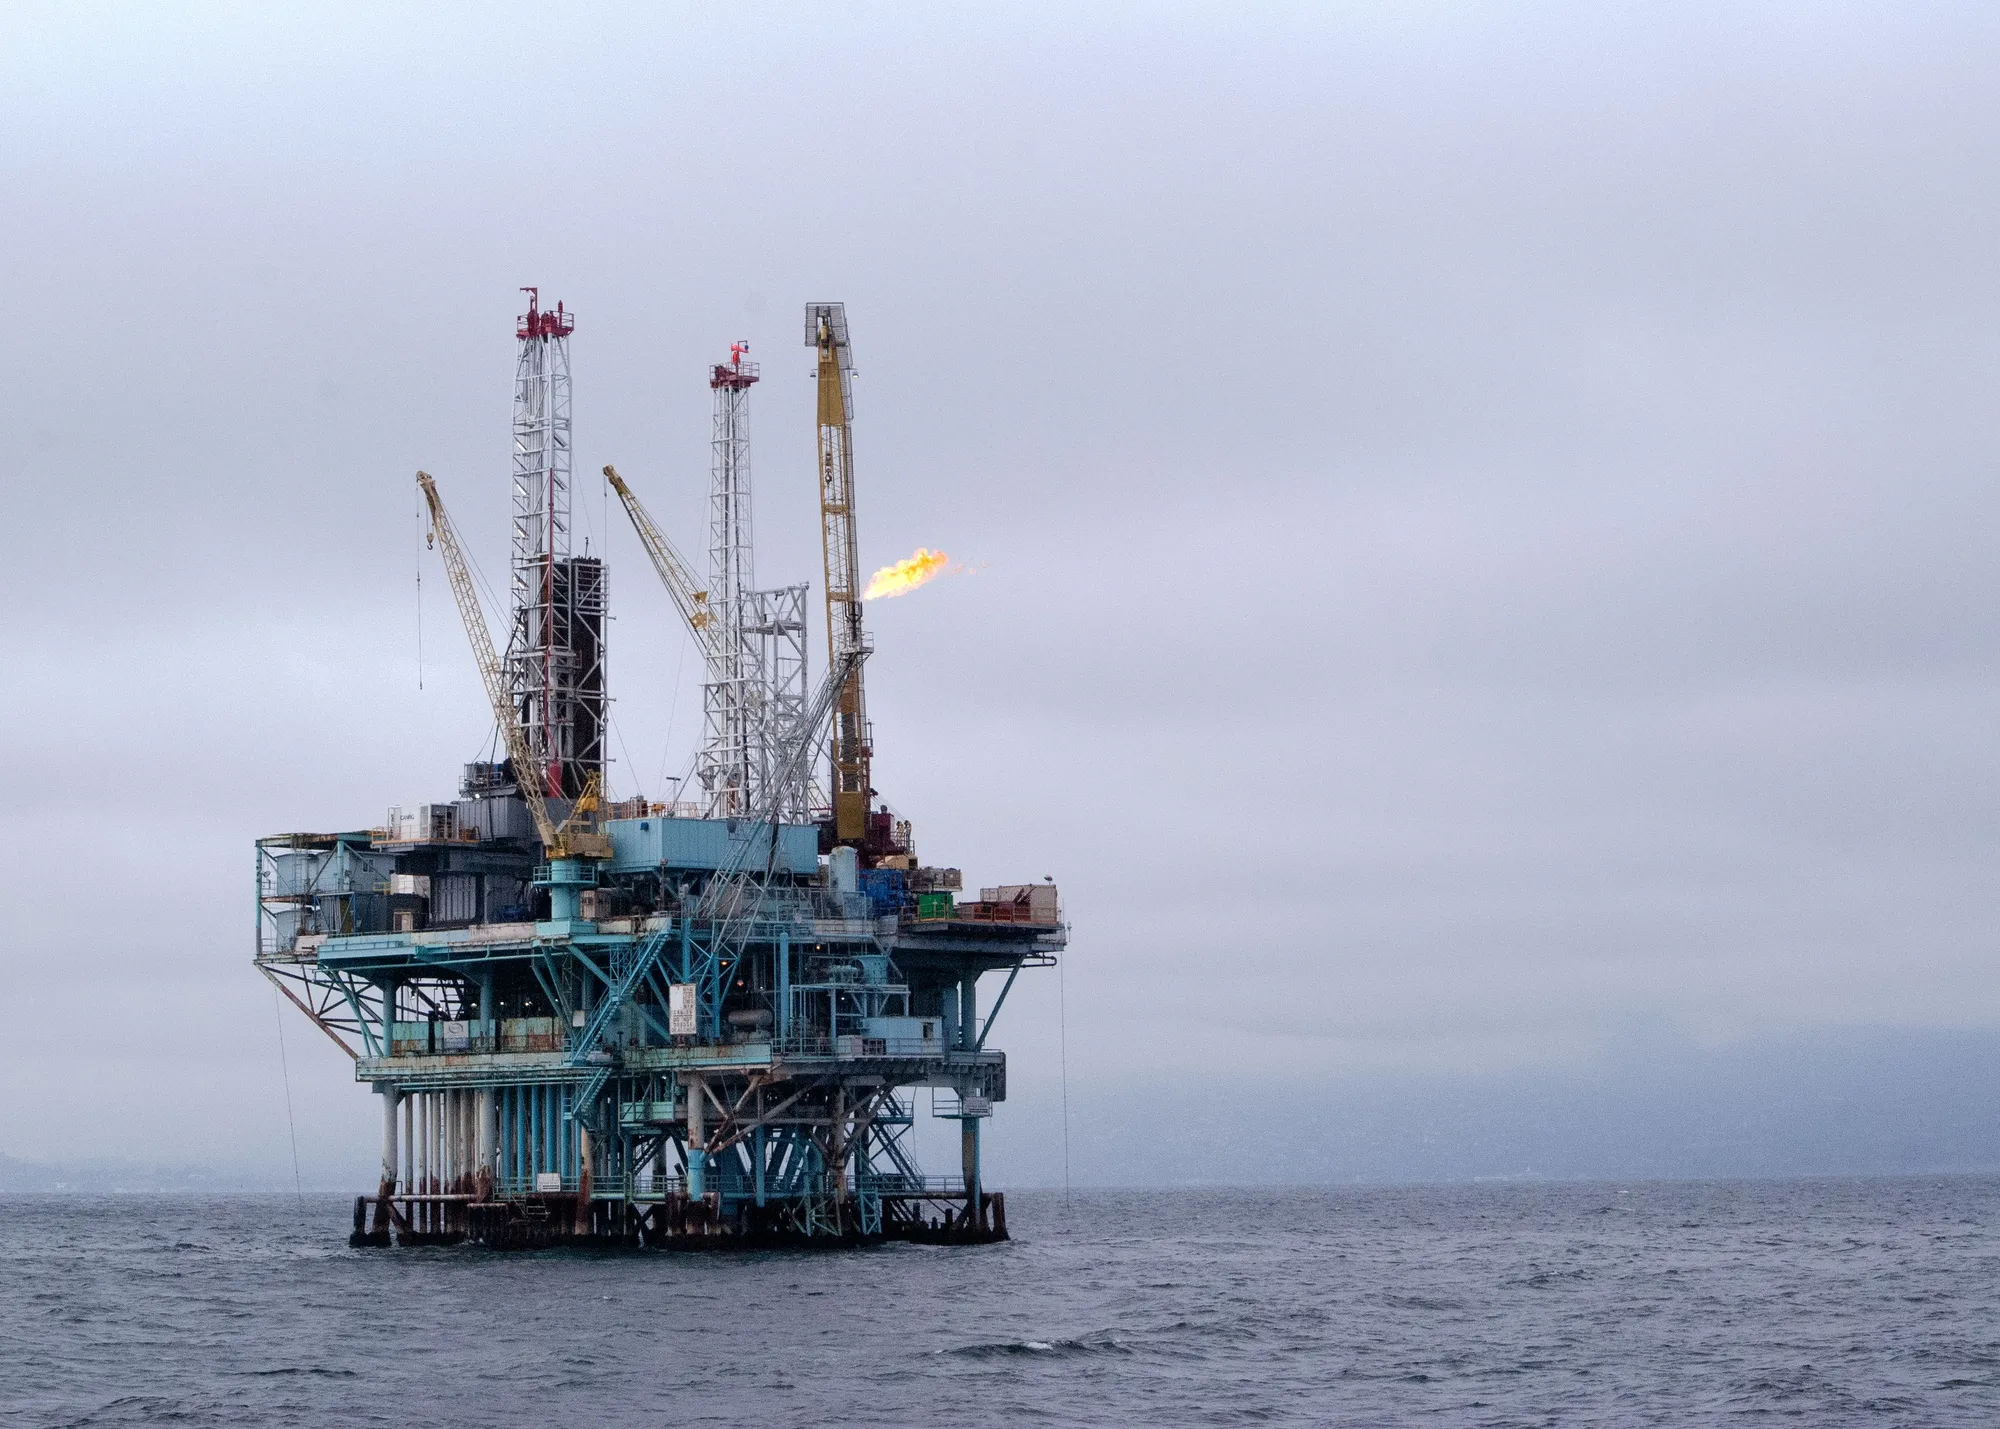 Oil & GasObsolete components rebuilt in polymer and metal.
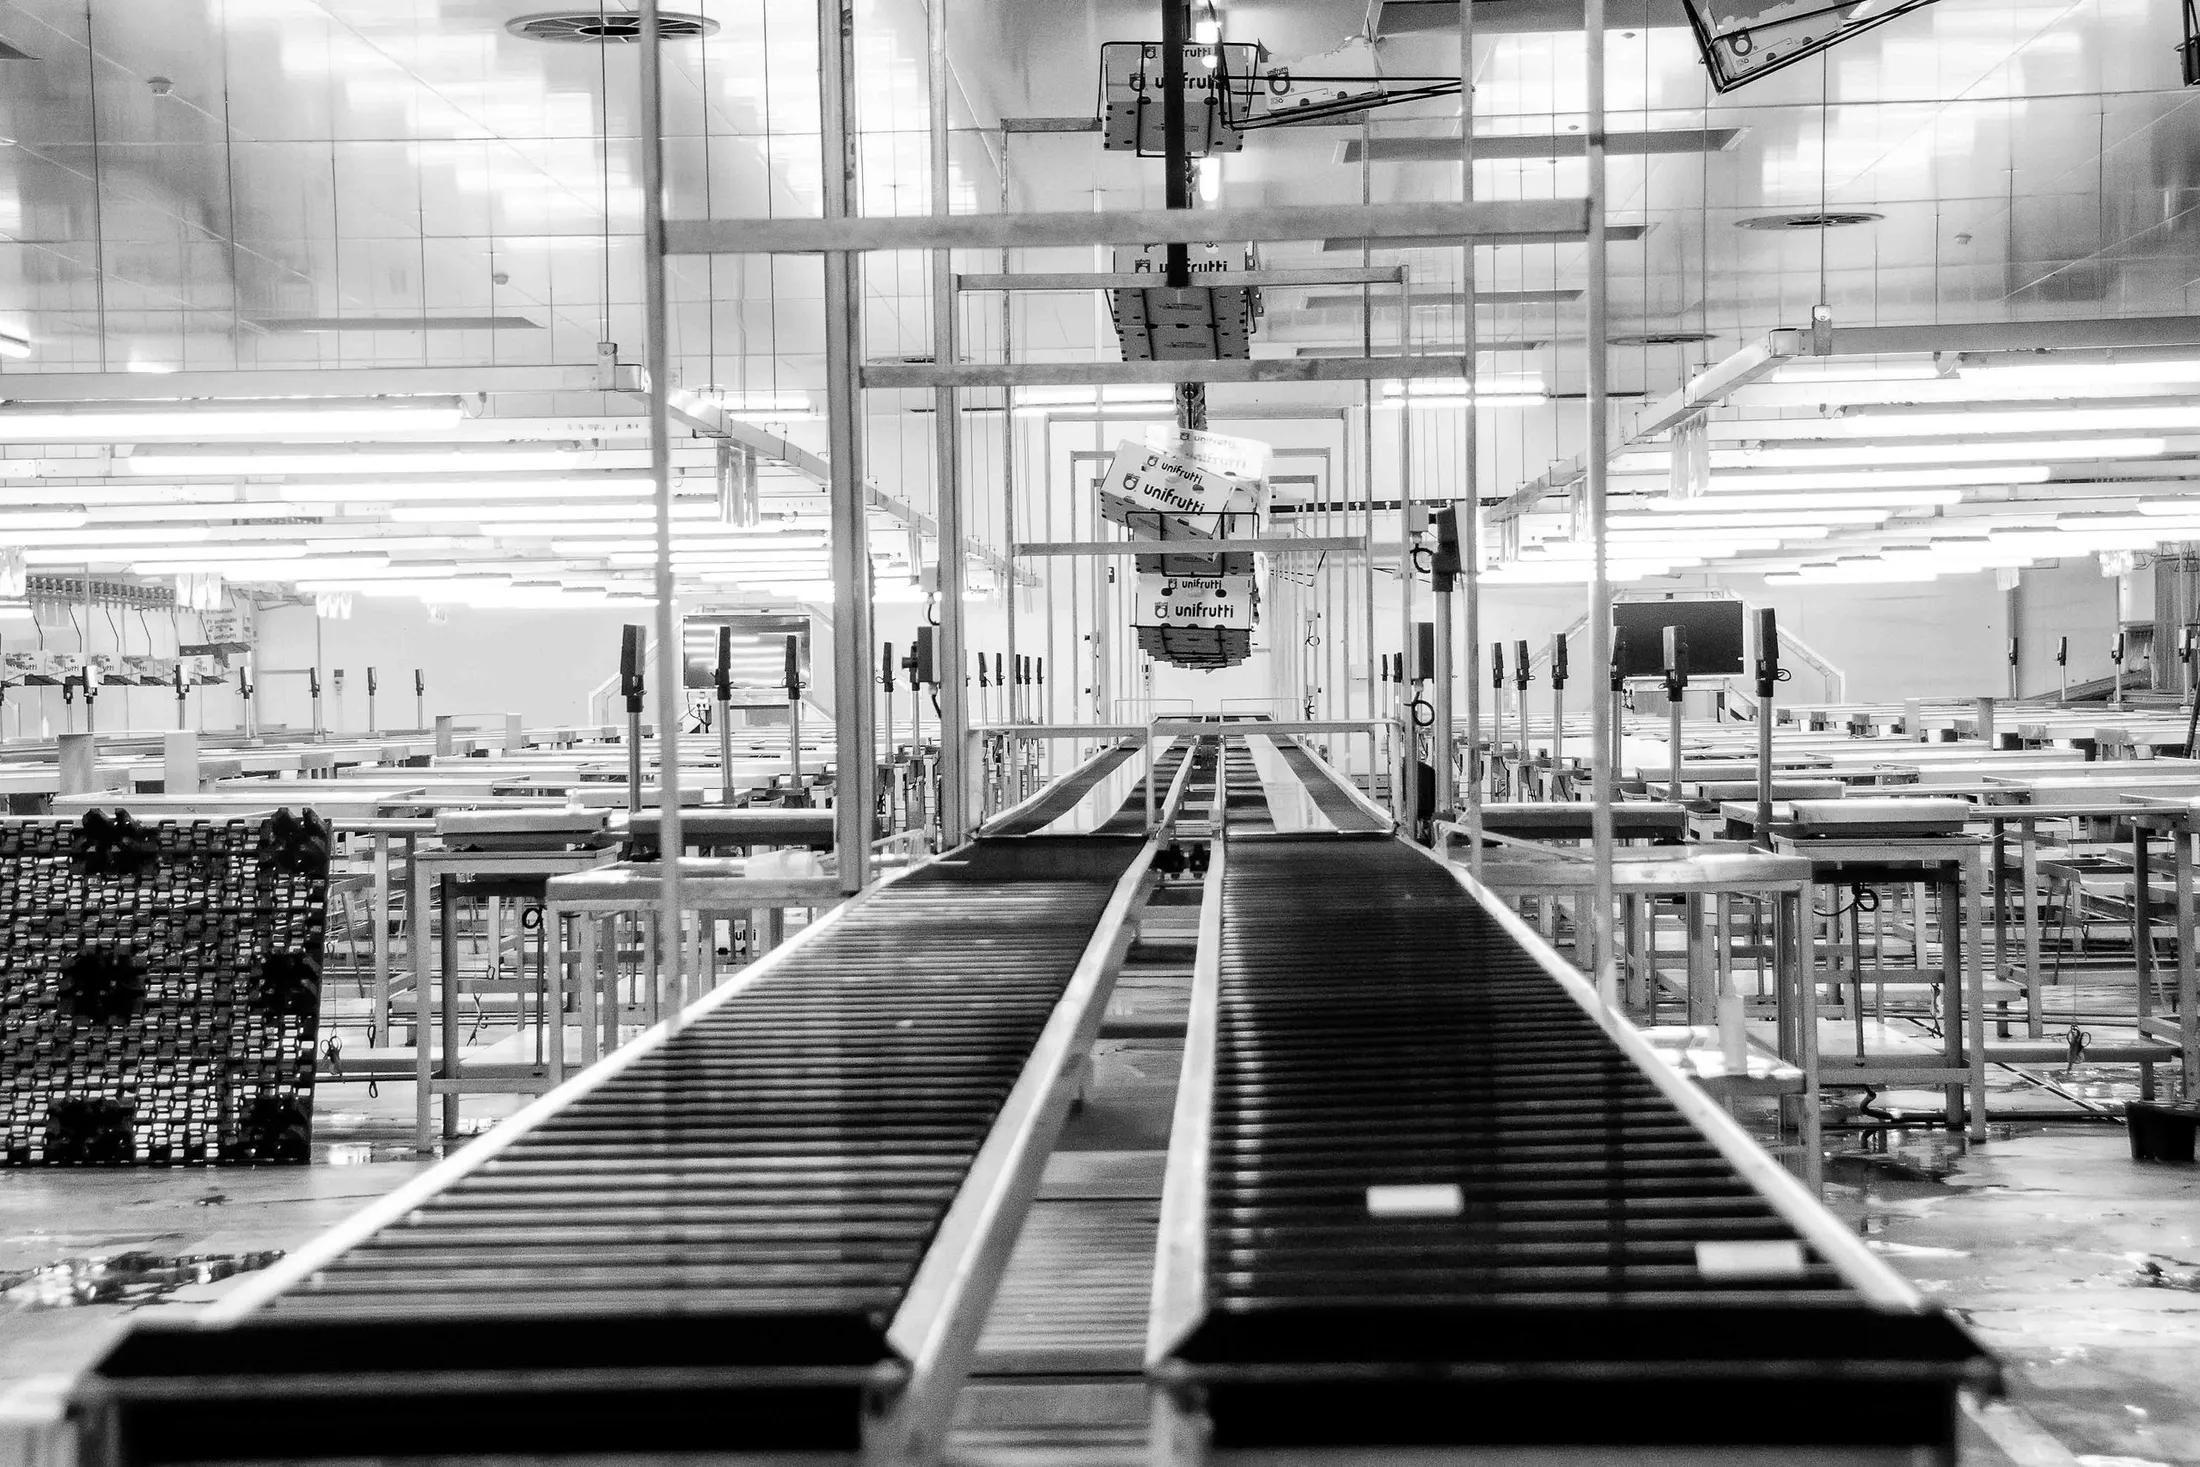 Industrial ManufacturingJigs, fixtures and end-use parts for the factory floor.
 Aerospace & DefenceControlled, local manufacture for sensitive programmes.
Company
A 10,750 sq ft additive manufacturing facility in Jebel Ali, Dubai, since 2023.
About Paradigm 3D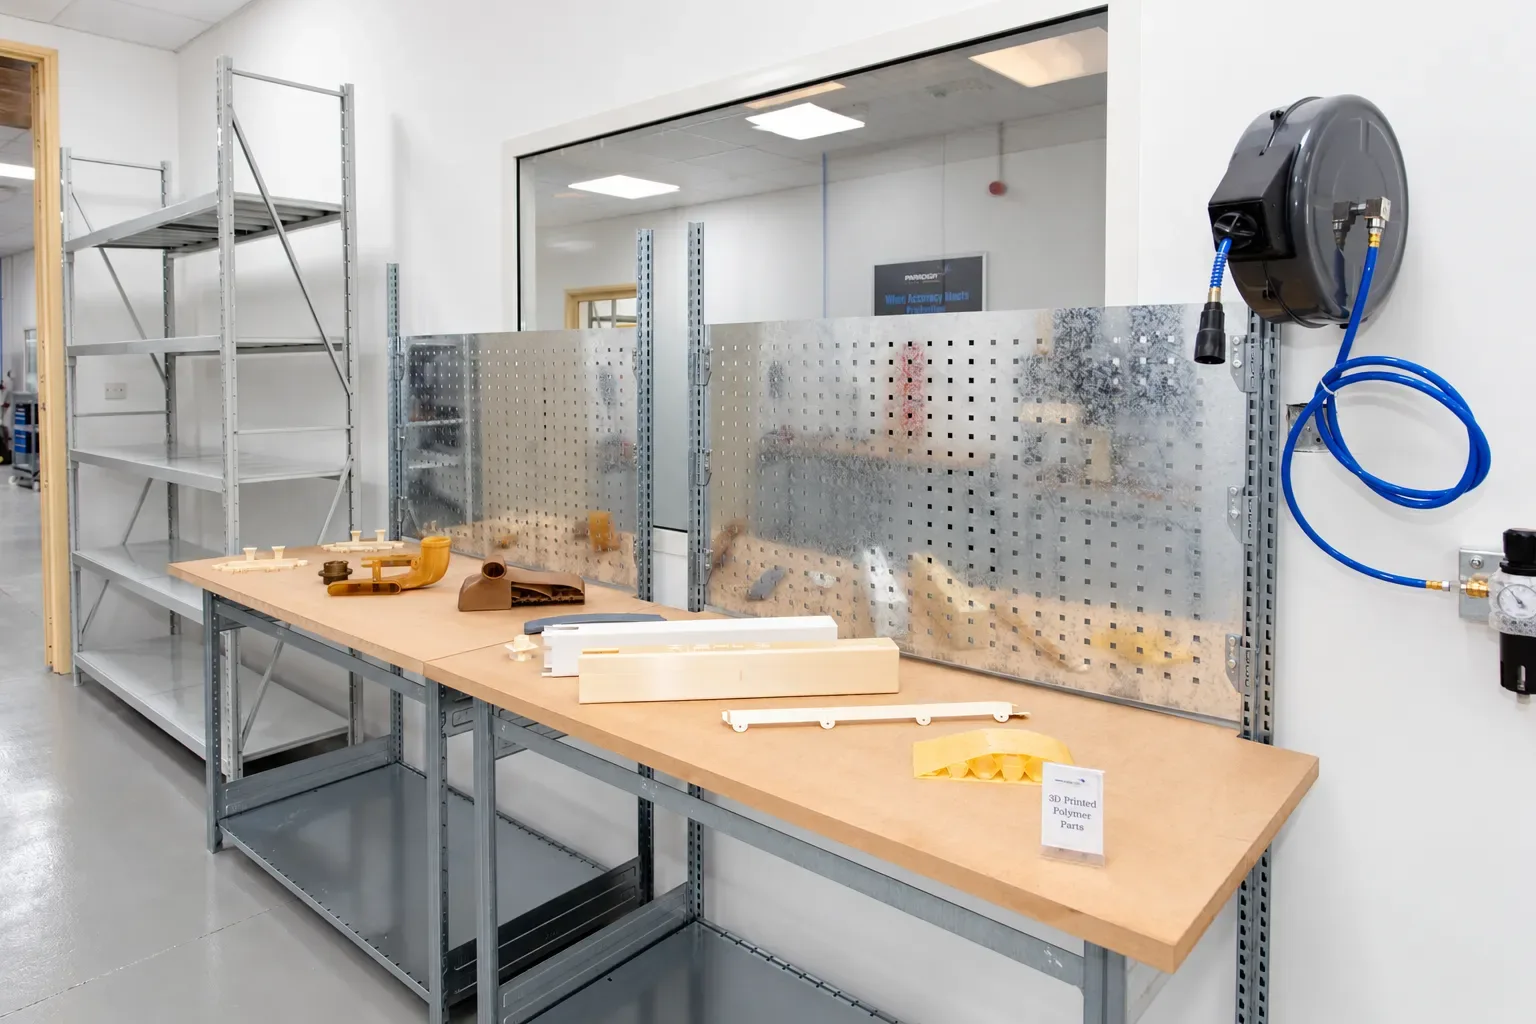
A printed part is not a finished part. We remove supports, prepare and paint surfaces, fit inserts, assemble and inspect, then send the records with the part.

Support marks, layer lines and loose powder stop a part from looking right or fitting right. Finishing fixes the surface. Inspection proves it.
Finishing is planned with the build, not after it, because coatings add thickness and sanding removes material.
Choose only what the part needs. A cabin trim, a fixture and a pump housing each get a different route.
Supports and loose powder removed by a method suited to the material, with fine features protected.
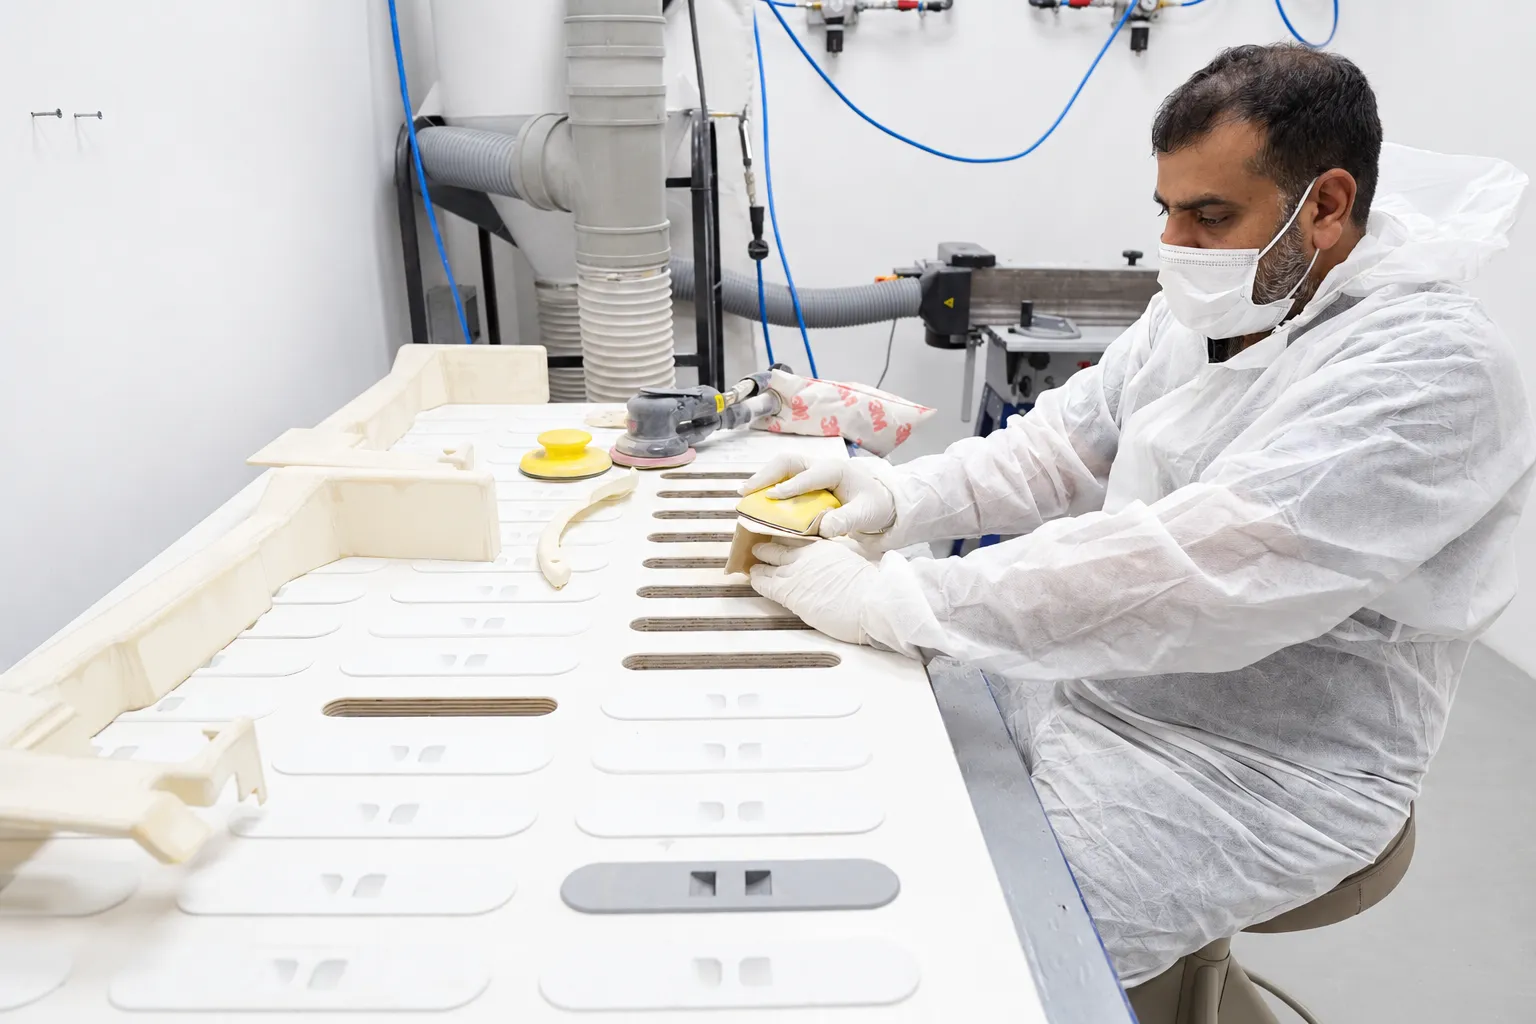
Layer lines reduced and surfaces filled where they show, while edges and datums stay untouched.
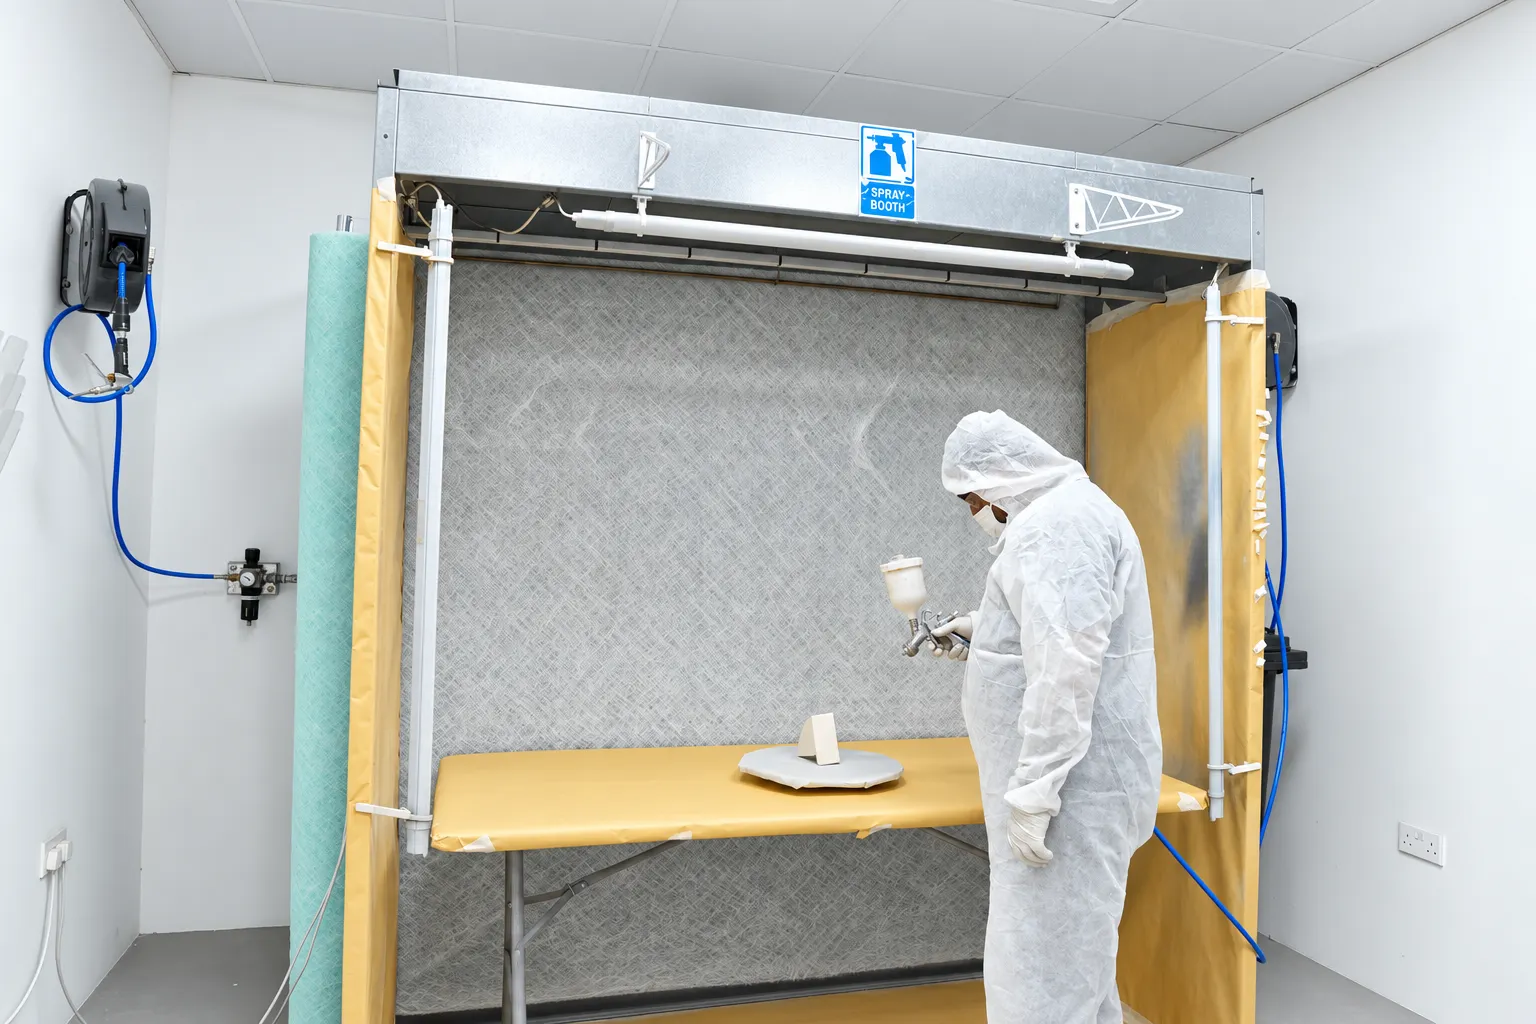
Painted to a colour code or your approved sample, with agreed gloss and texture.
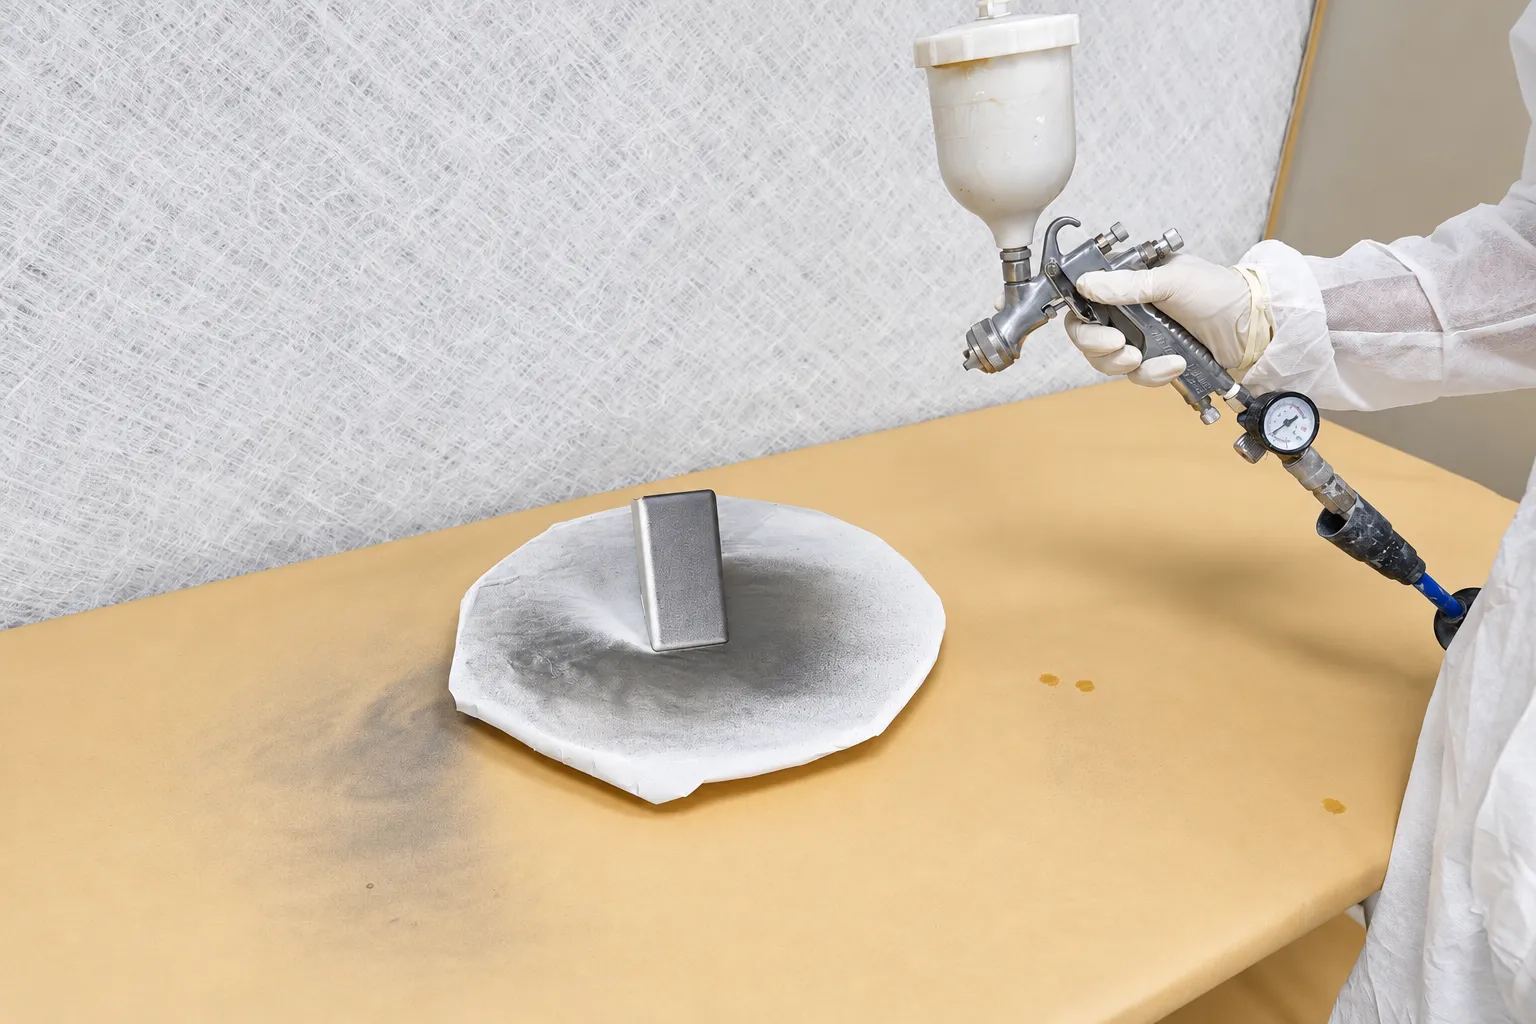
Protective and functional coatings, checked for compatibility with the polymer or alloy first.
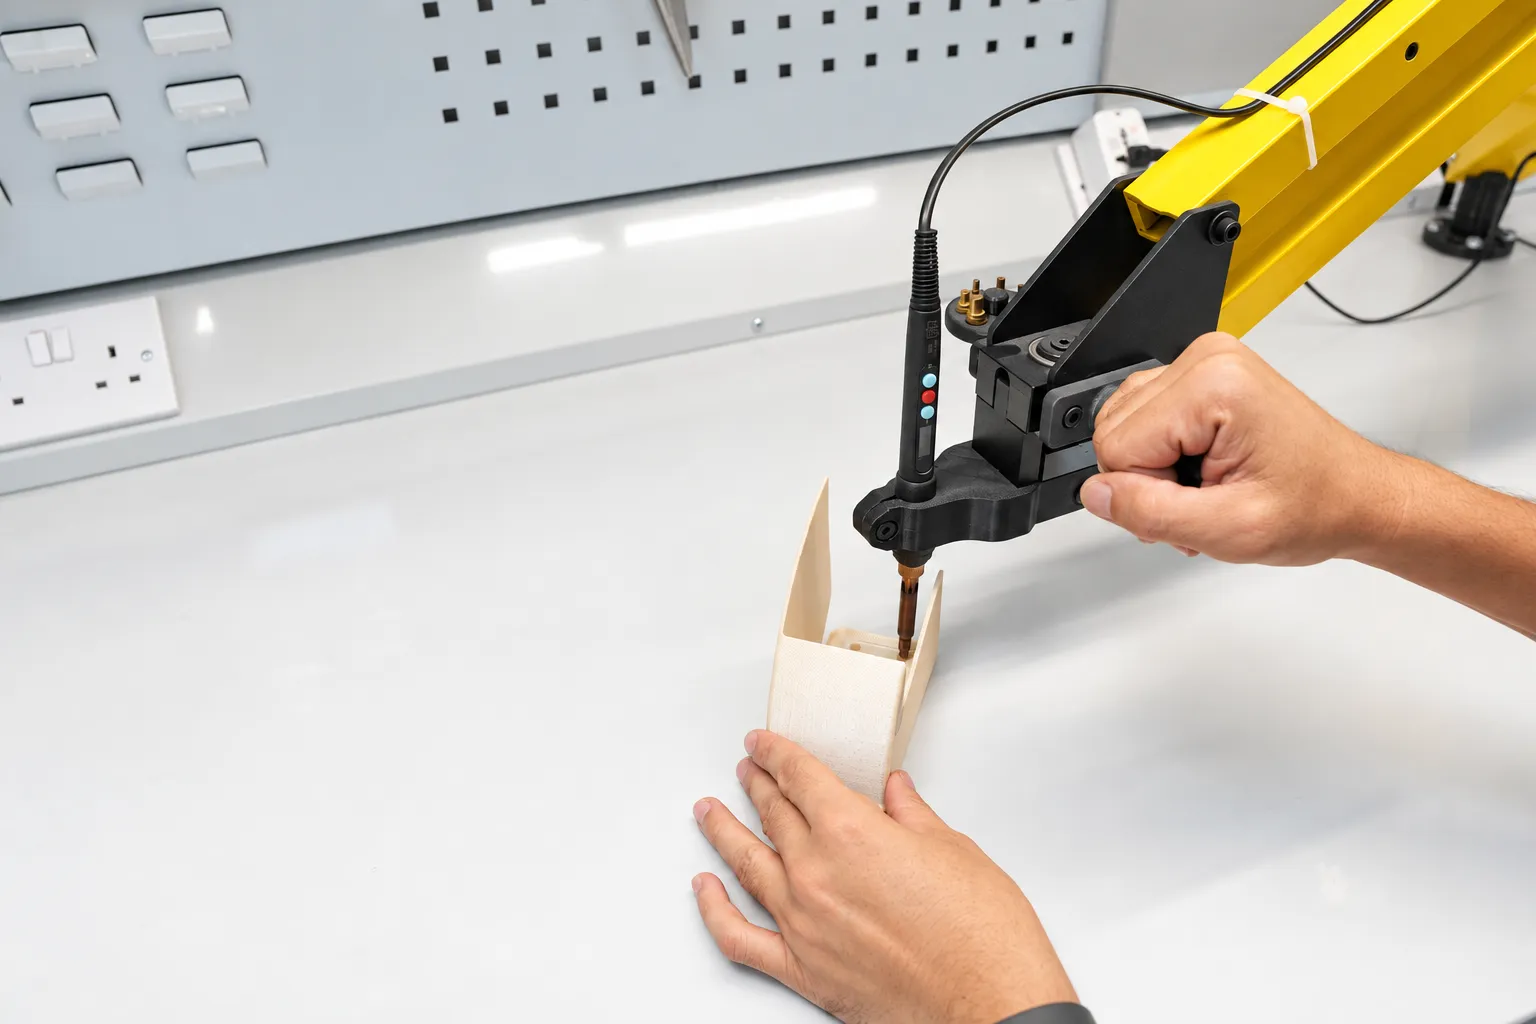
Metal inserts set into printed parts for durable, repeatable fastening.
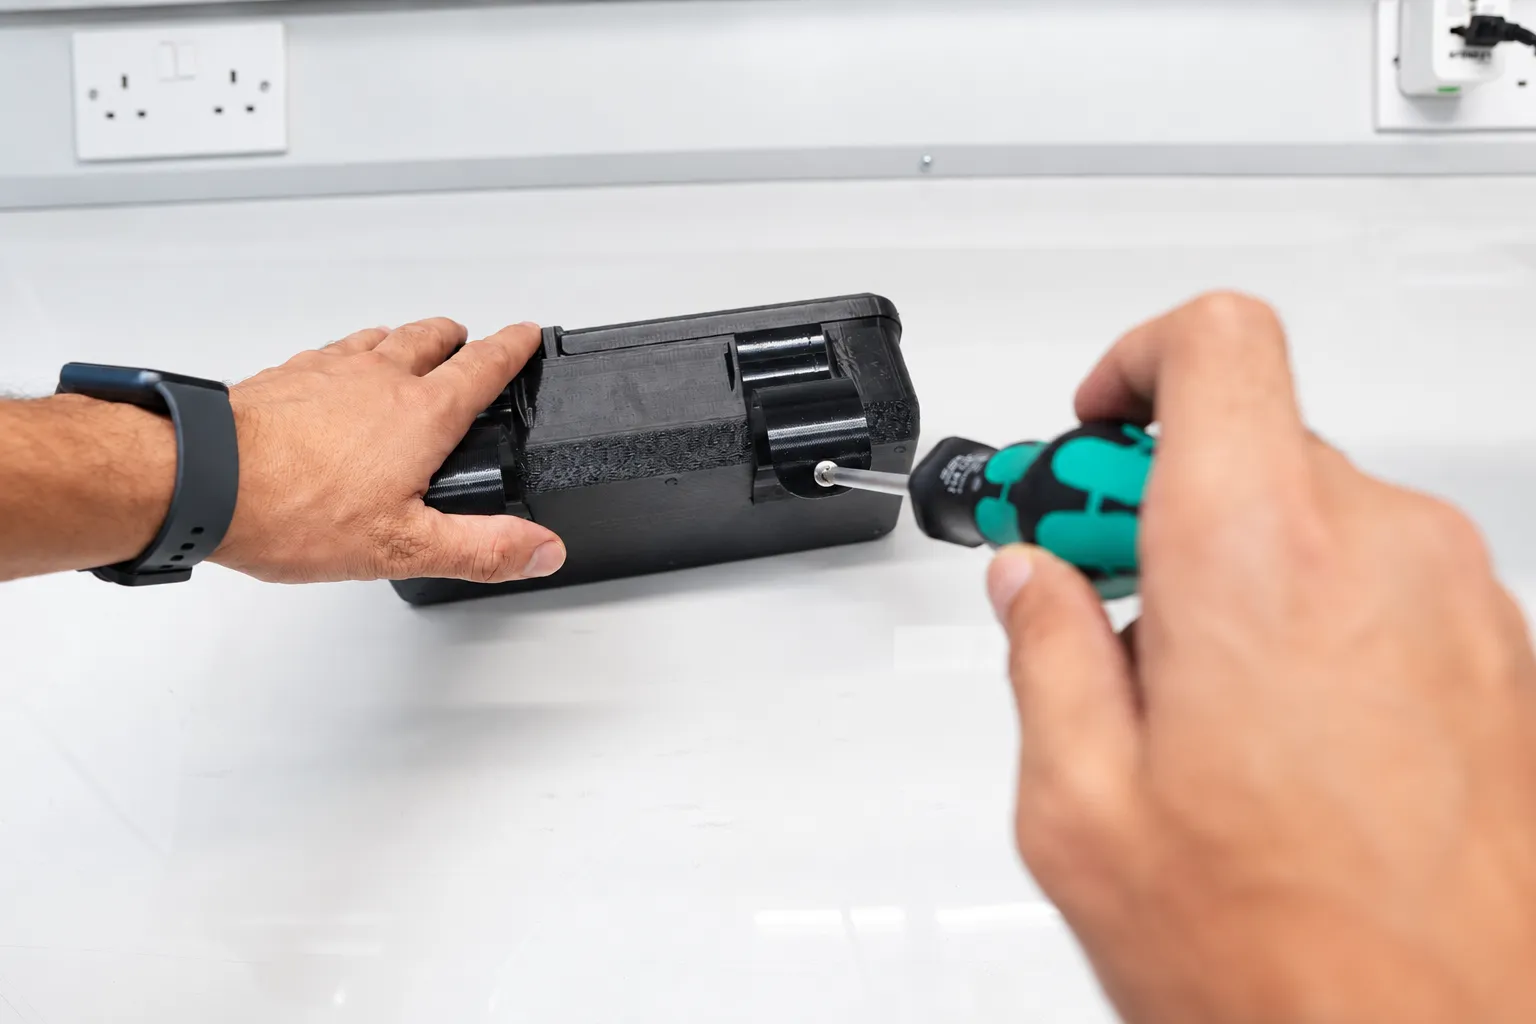
Multi-part components bonded, fitted and delivered as one assembly.
The starting surface sets the route. A finish that suits one material can be wrong for another, so we plan it per process.
| Process | Starting surface | Typical finishing | What we protect |
|---|---|---|---|
| FDM thermoplastics | Visible layer lines and marks where supports touched the part | Support removal, sanding, filling, priming, painting, inserts | Thin features, edges and mating interfaces |
| SLS nylon | Fine matte texture with residual powder | Powder removal, media blasting and coating where compatible | Internal cavities and powder escape access |
| Metal LPBF | Textured metal on a build plate with supports | Plate and support removal, heat treatment, machining of critical faces | Datum faces, machining allowances and internal channels |
Specialist treatments such as chemical smoothing are reviewed for availability and compatibility before we quote them.
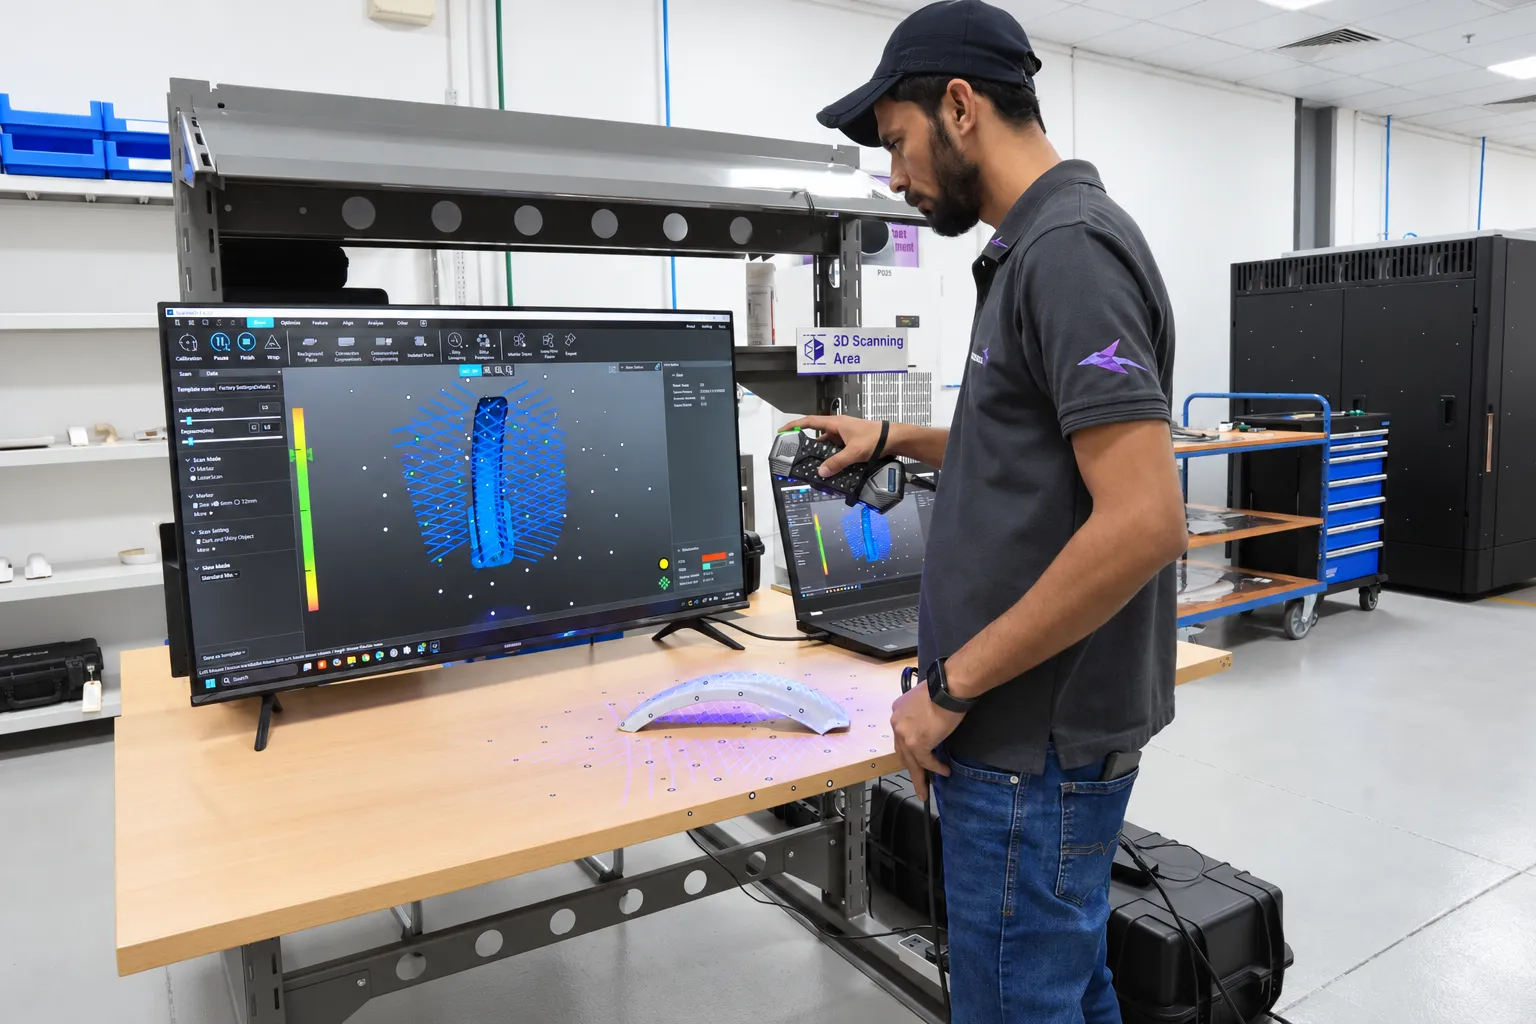
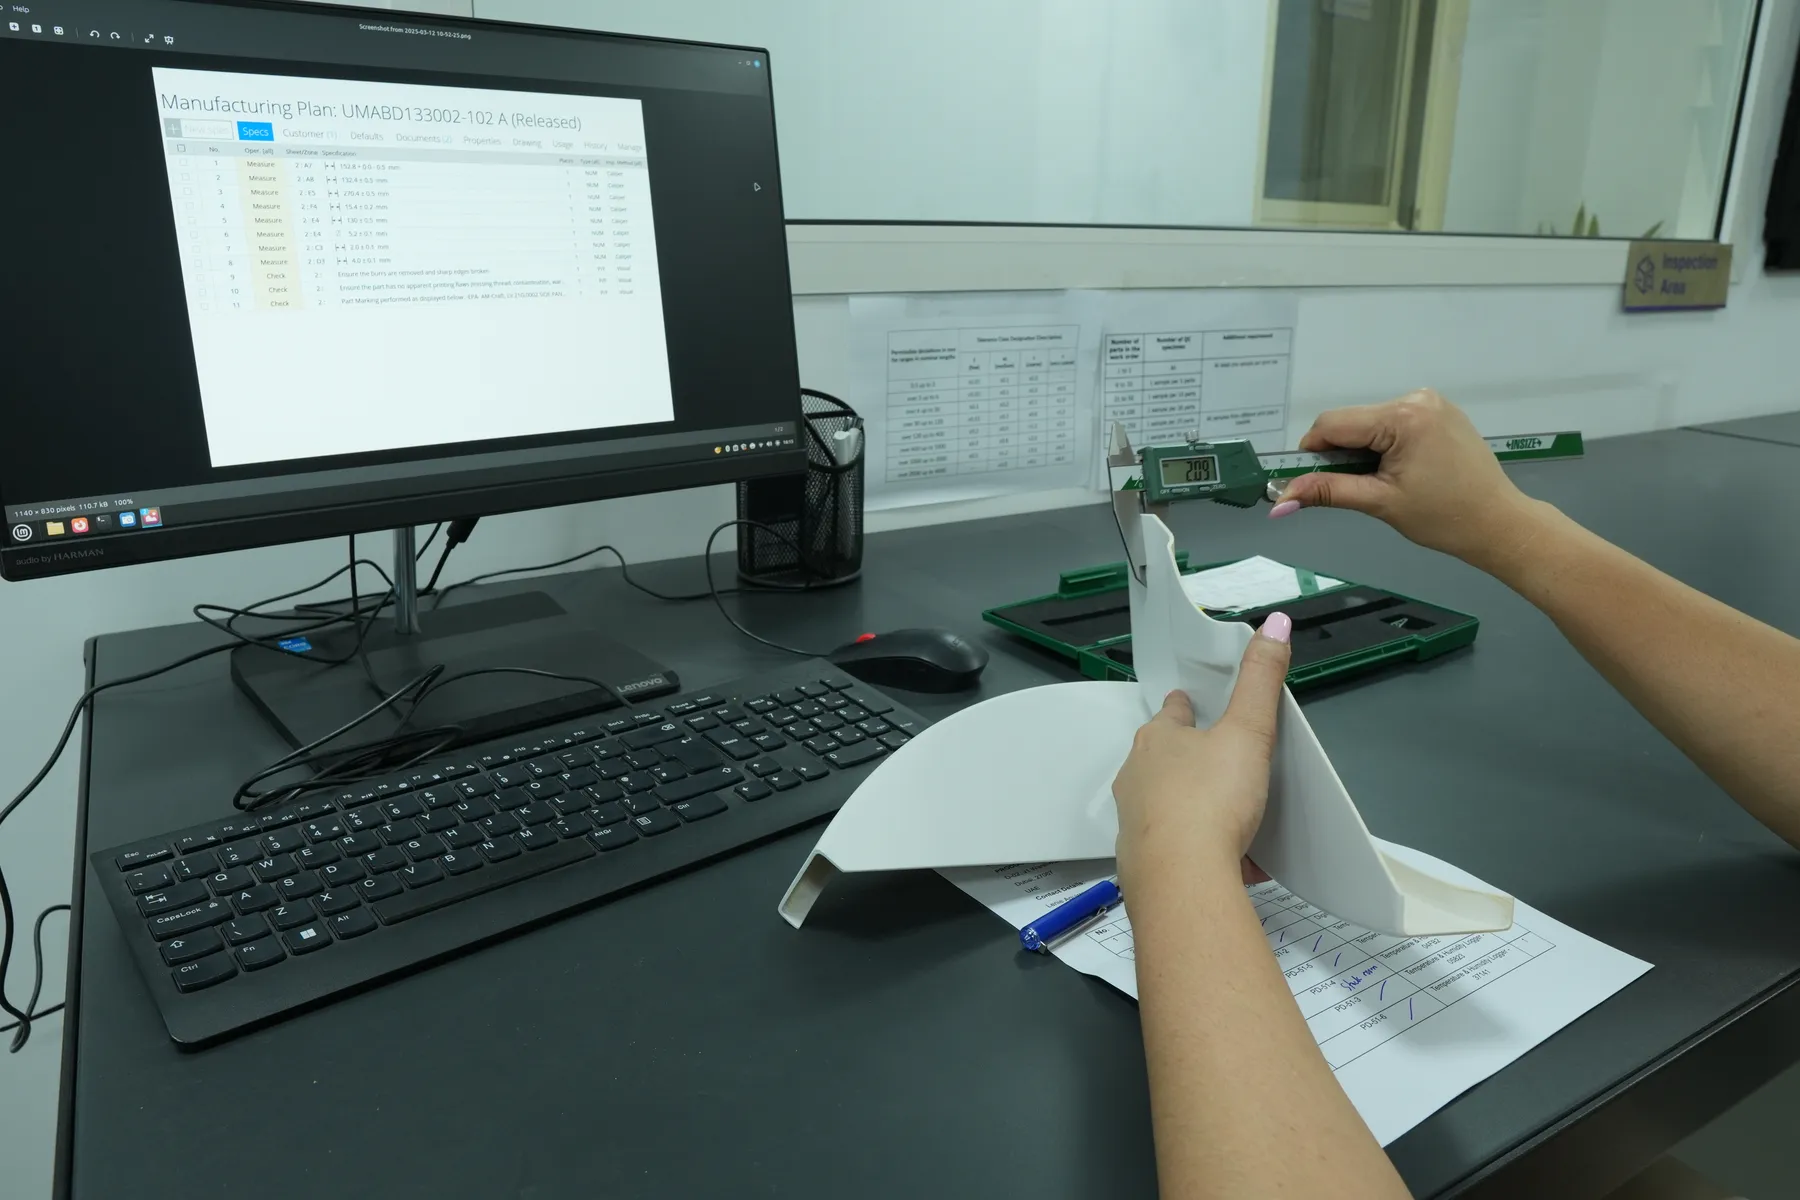
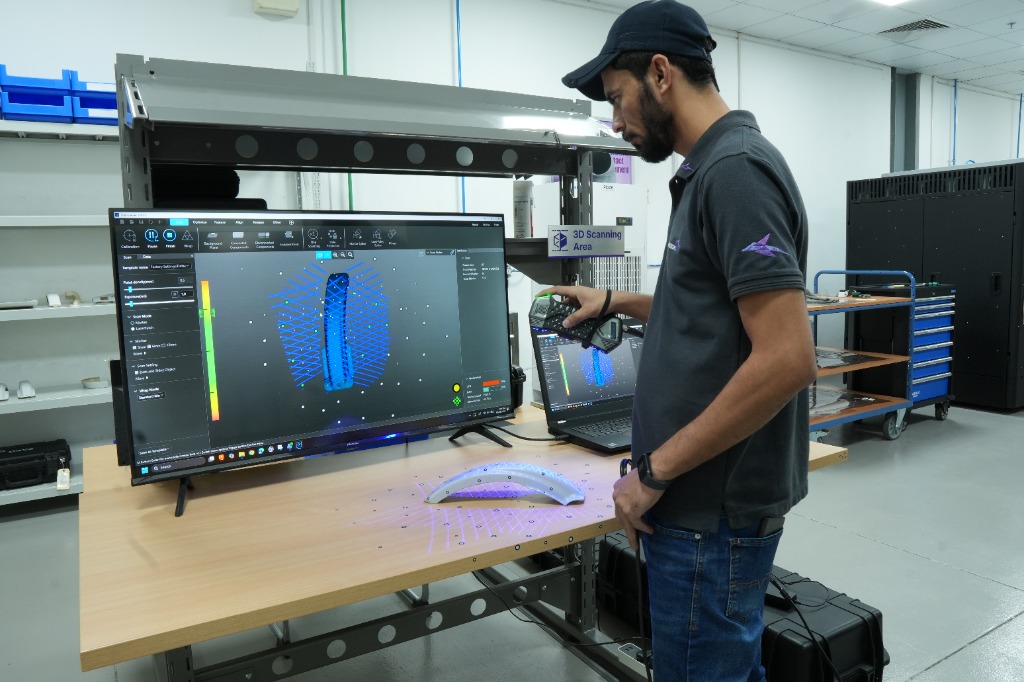
We inspect parts against the drawing and acceptance criteria you set, using the same metrology-grade scanners we use for reverse engineering.
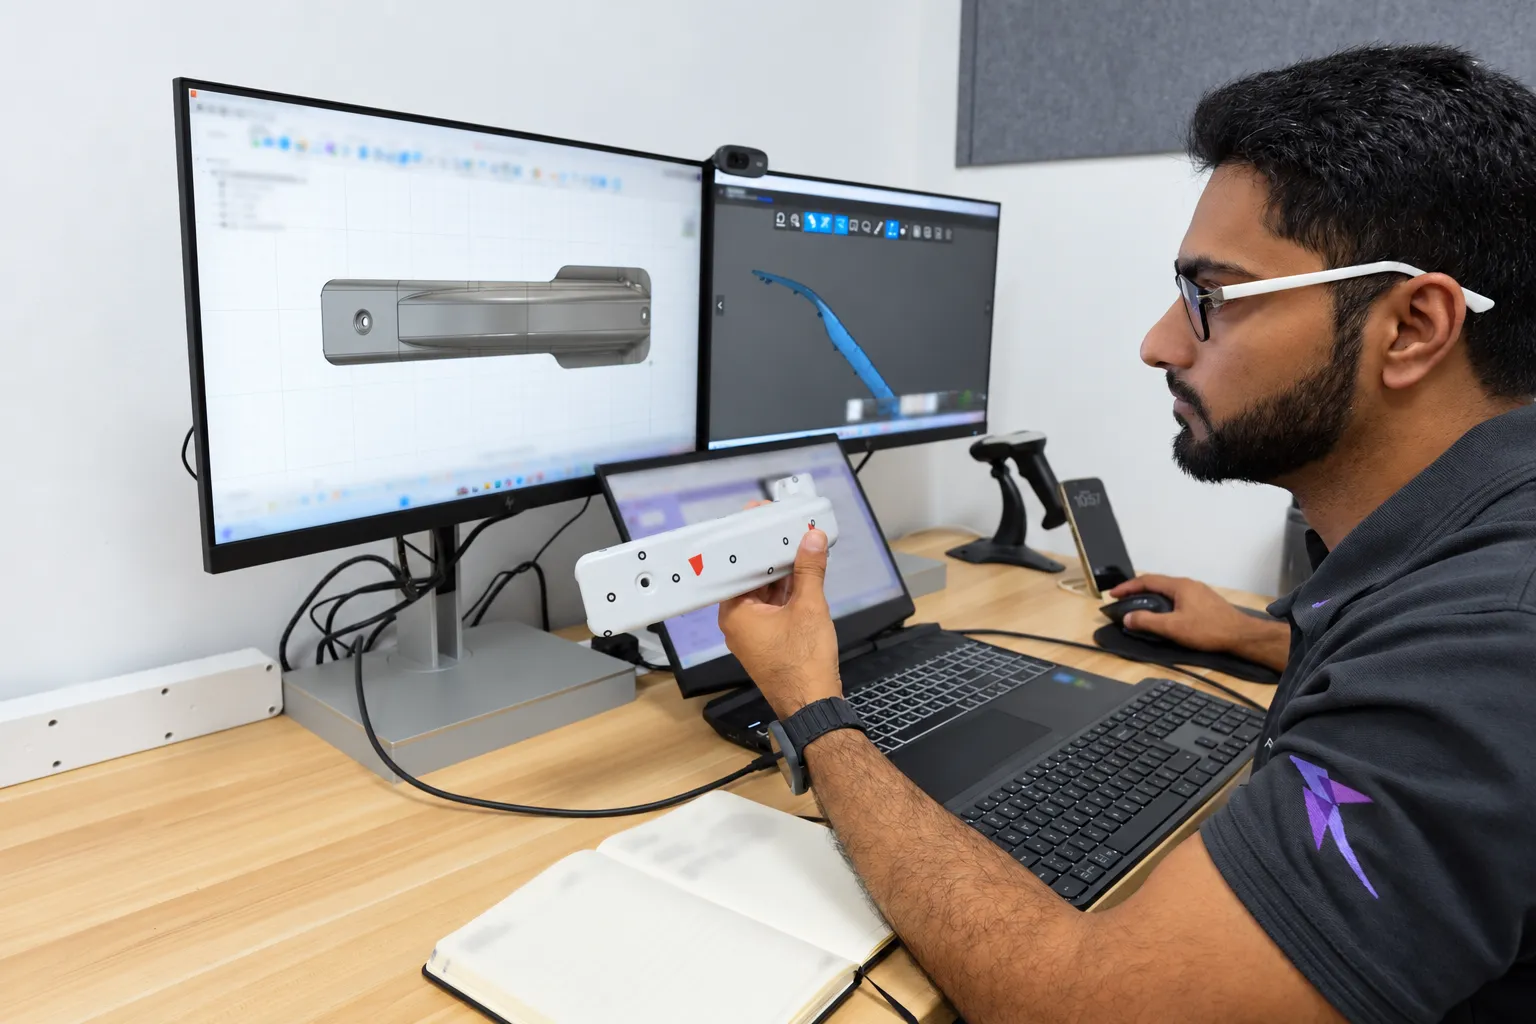
Critical dimensions and geometry verified on the first part before production continues.
Surface deviation visualised across complex parts and assemblies.
In-service parts measured against baseline geometry to show wear or deformation.
Inspection evidence linked to the part number, revision and build record.
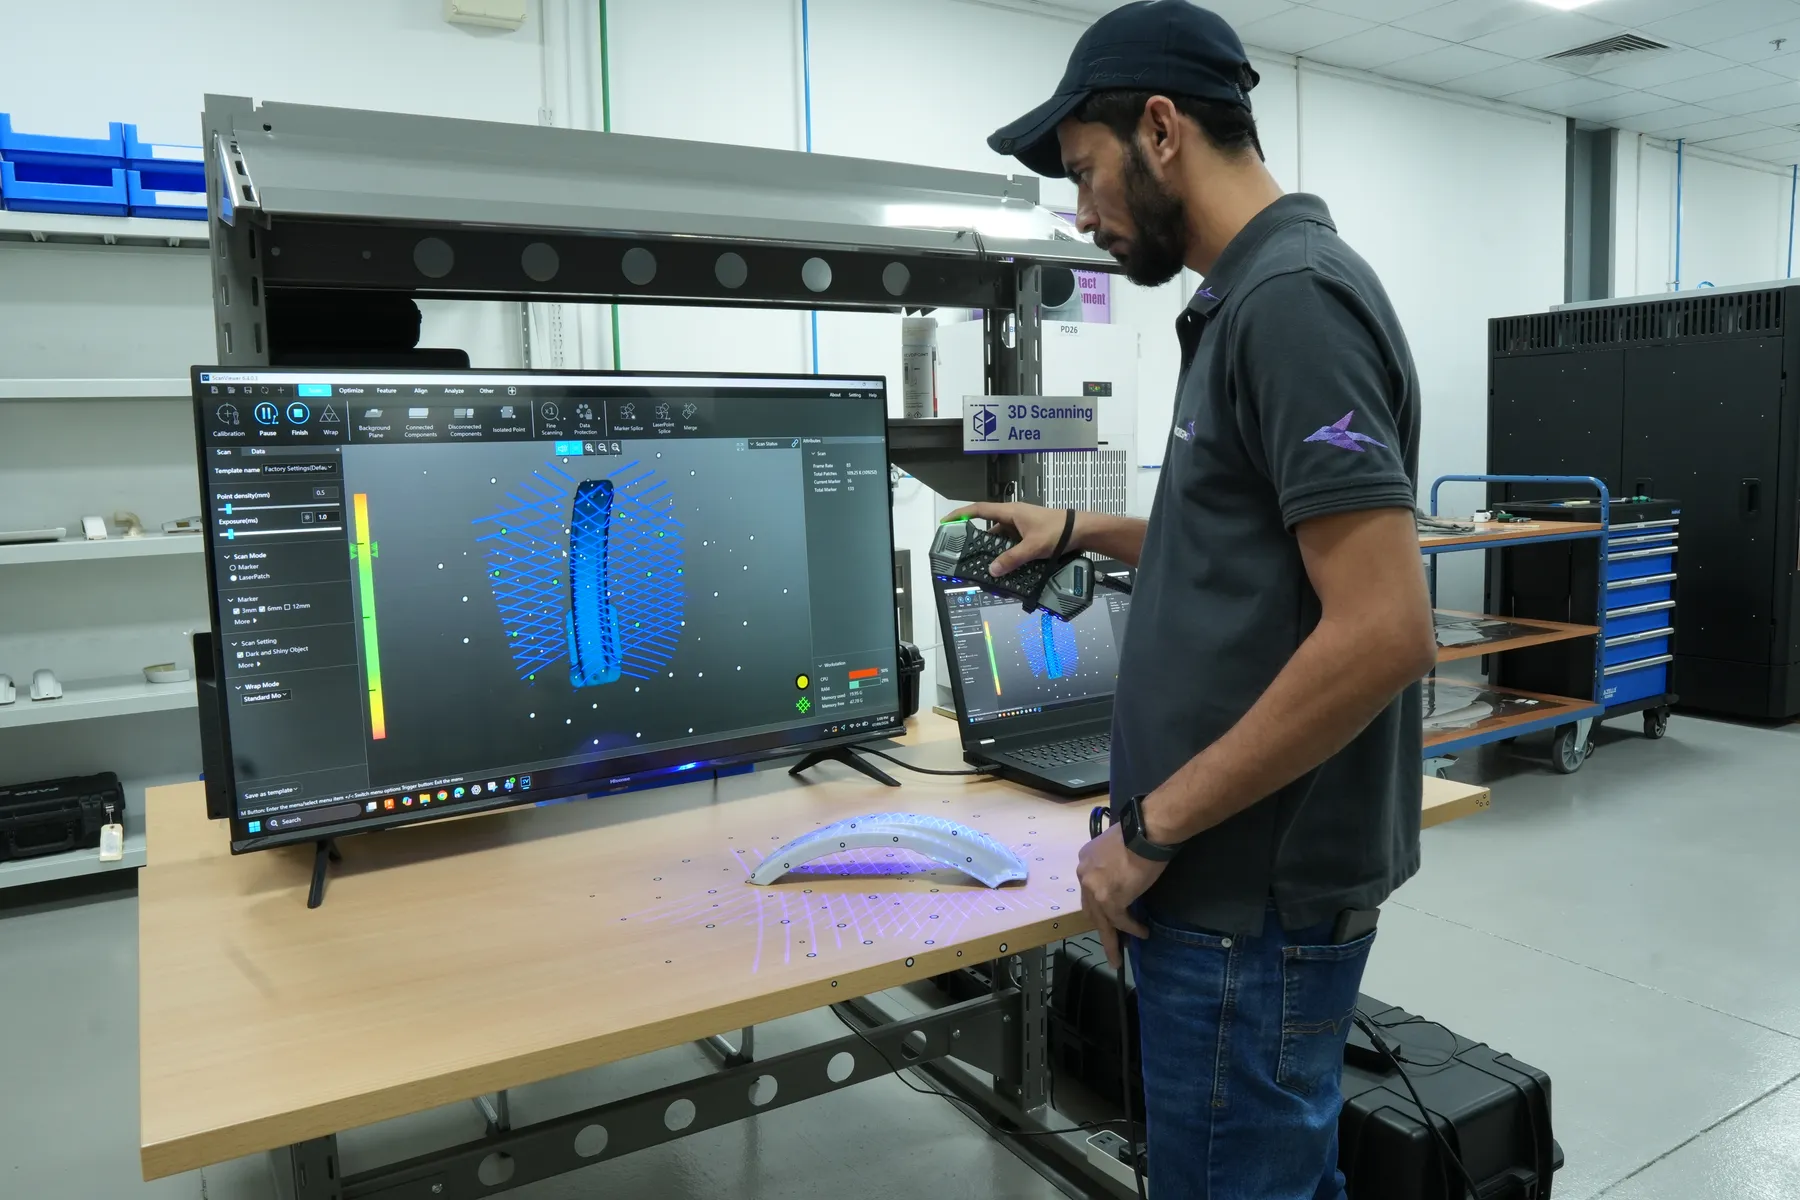
A colour map shows where a part sits against nominal across its whole surface. You see trends, not just whether five dimensions passed.
Tell us which records you need when you enquire and they are planned into the job from day one.
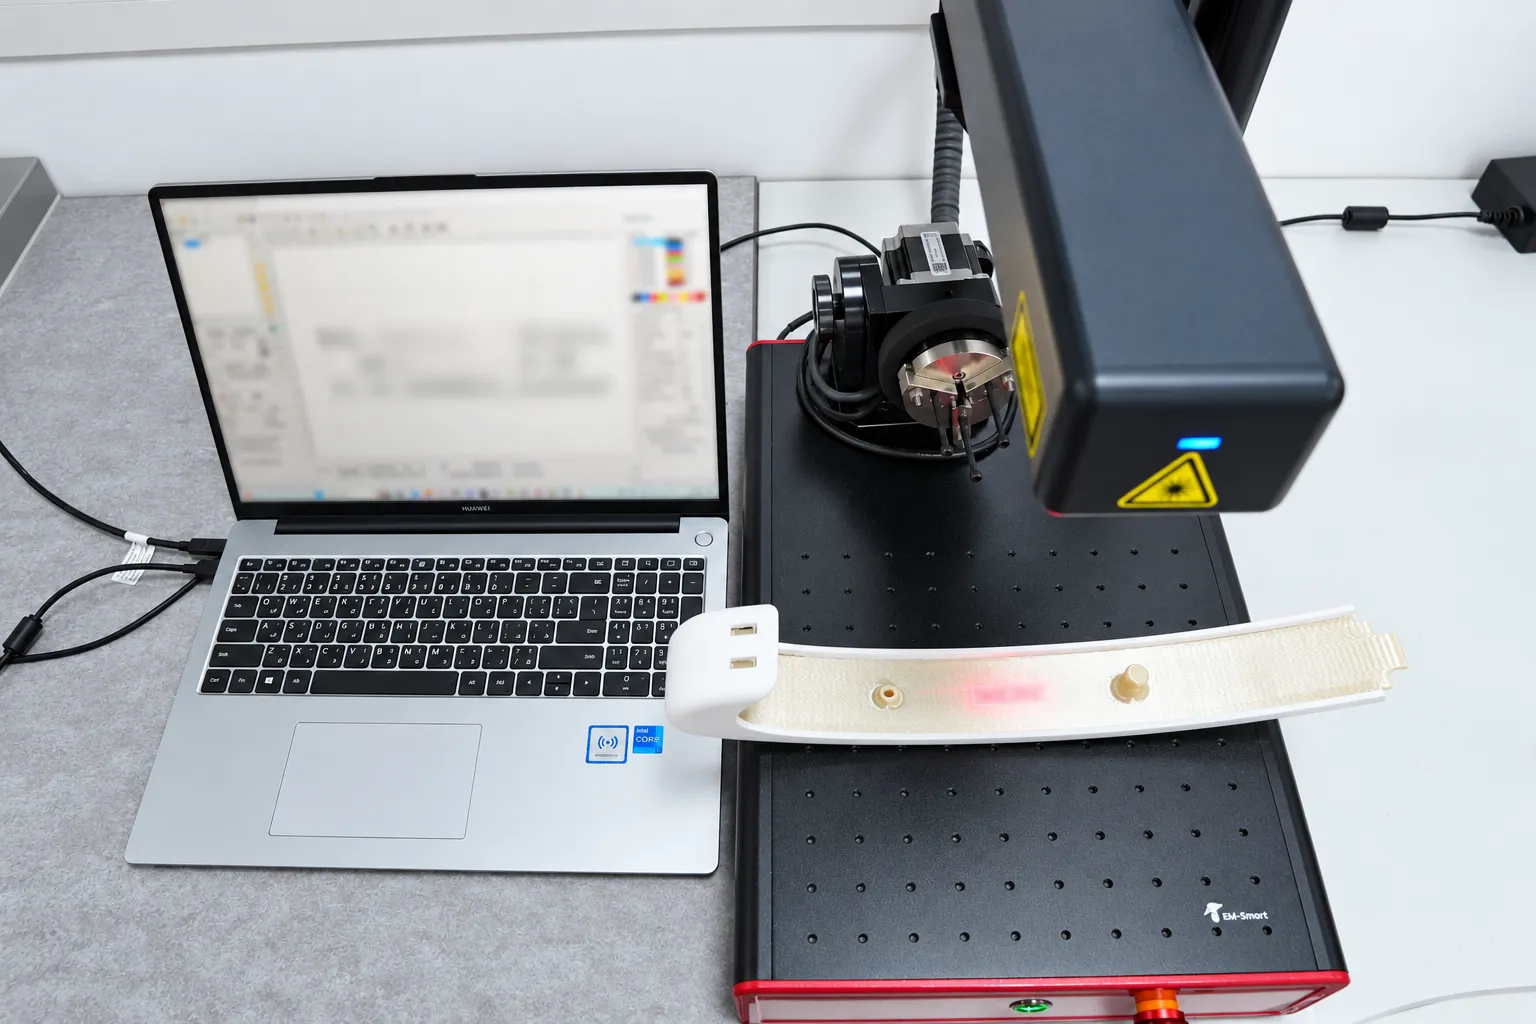
Results for the agreed dimensions and features against the drawing.
Scan-to-CAD comparison views, with supporting data when ordered.
A first-article style record of the first part, when your order calls for one.
Part number, revision and finish reference, with CoC or EASA Form 1 through the applicable route.
Certificates, release routes and records in one place.
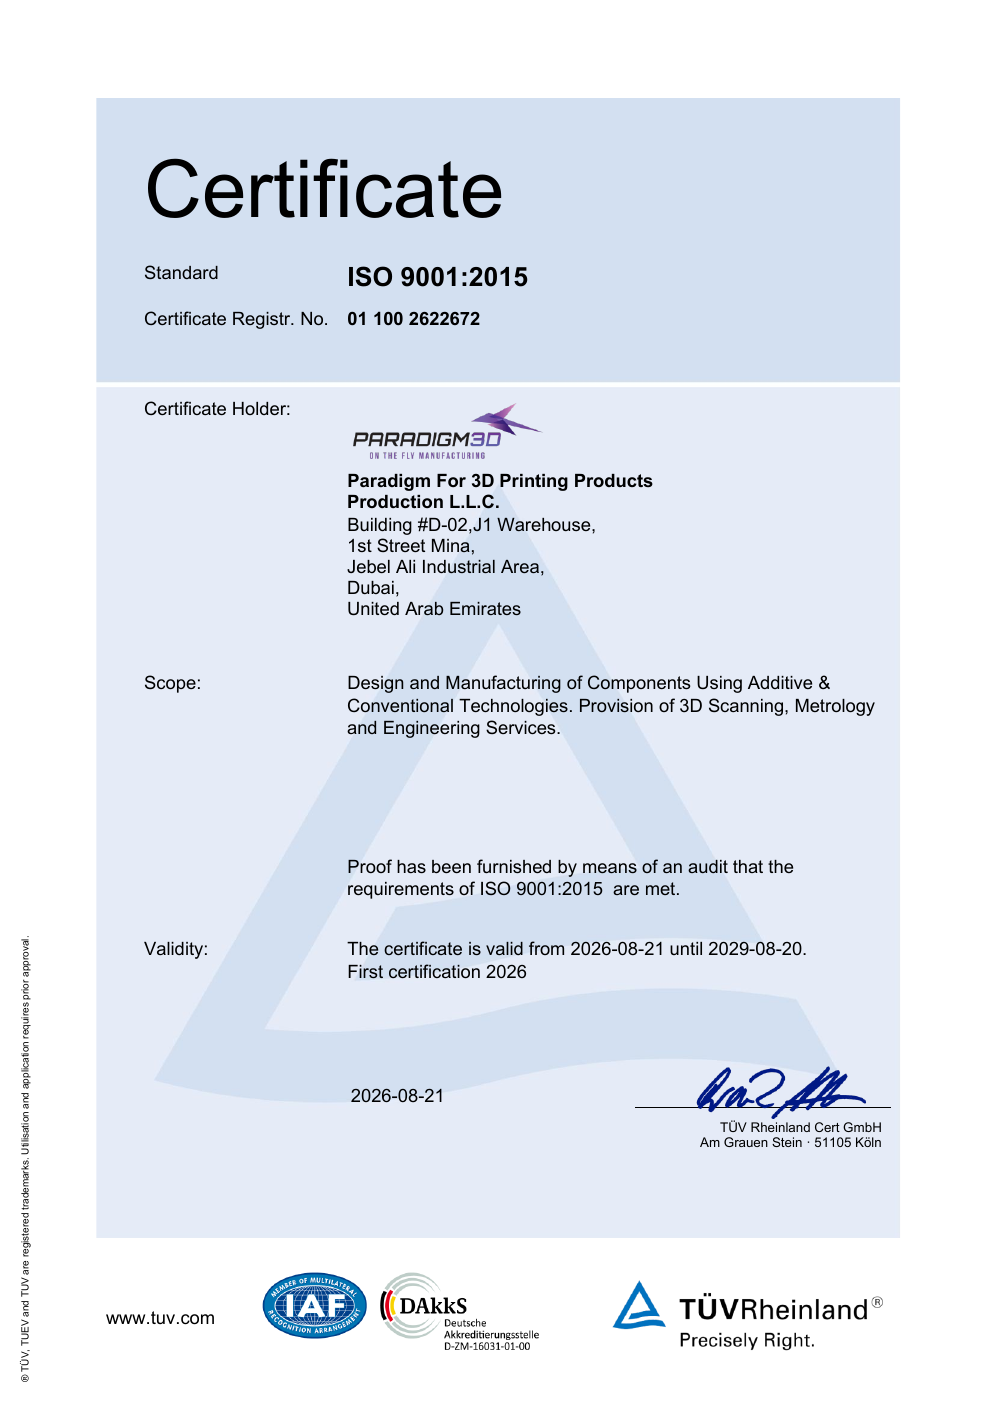
Paradigm For 3D Printing Products Production L.L.C., certificate 01 100 2622672. Scope: component design and manufacturing using additive and conventional technologies, 3D scanning, metrology and engineering services.
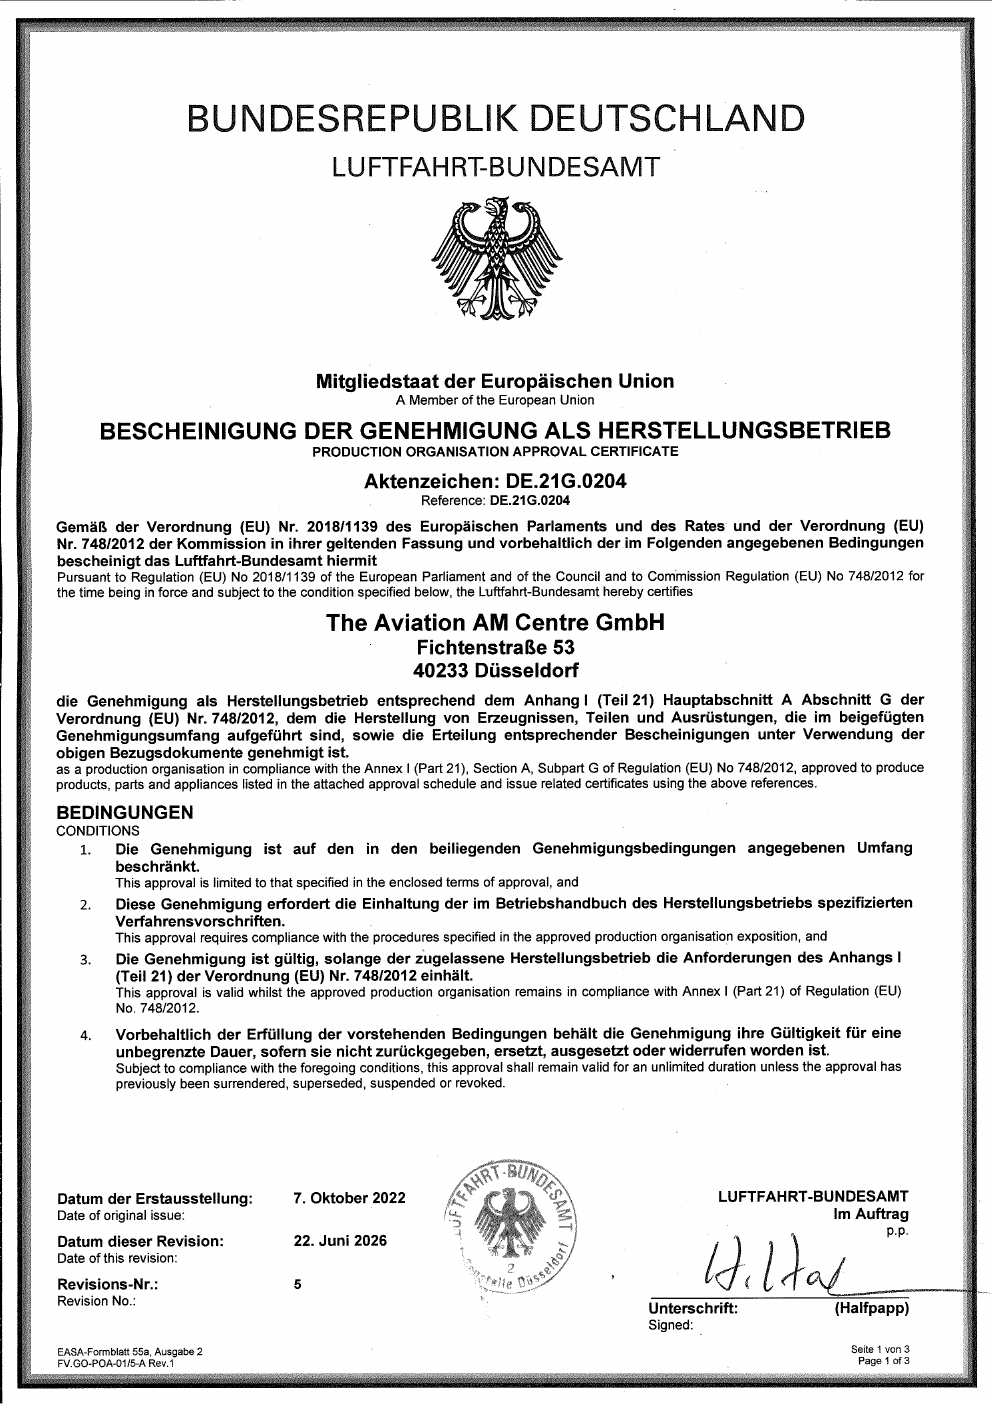
Paradigm 3D manufactures eligible aviation parts under a production arrangement with The Aviation AM Centre, the EASA Part 21G approval holder, which issues EASA Form 1 for parts supplied through that approved route.
Application in progress. Our application for GCAA CAR 21G production organisation approval is in progress.
A marked drawing or an approved sample is the clearest way to show what must be finished, protected and checked.
Anything else? See all FAQs
No. The material, process, geometry and environment decide the route. A coating that works on one polymer can fail on another, so share the grade and process with your enquiry.
On suitable parts, yes. Sanding, filling and coating reduce build texture. The result depends on access and geometry, so for cosmetic parts we agree a reference sample first.
It can. Sanding removes material and coatings add thickness. Mark close-fitting interfaces, holes, threads and datums so we can mask them and check them after the final step.
Yes. Send a colour code or a physical sample with the gloss and texture you need. Material and lighting affect appearance, so acceptable variation is agreed up front where it matters.
No. Many functional parts work with a cleaned, as-built surface. We add finishing only where it serves appearance, handling or performance, which keeps cost proportionate.
The one you specify: dimensional results on agreed features, a scan-to-CAD colour map, or a first-article style record. Tell us the coverage and format when you enquire.
Often, yes. Send photos, the material, the printing process and any previous treatment, and we will confirm whether the parts are suitable before we quote.
The material, coating and process must sit within the part specification and its approval route. Share qualification, traceability and release requirements at enquiry stage.
Capture worn or undocumented parts and rebuild them as CAD and drawings.
Explore scanning
FDM, SLS and metal printing for production, replacement parts and prototypes.
Explore 3D printing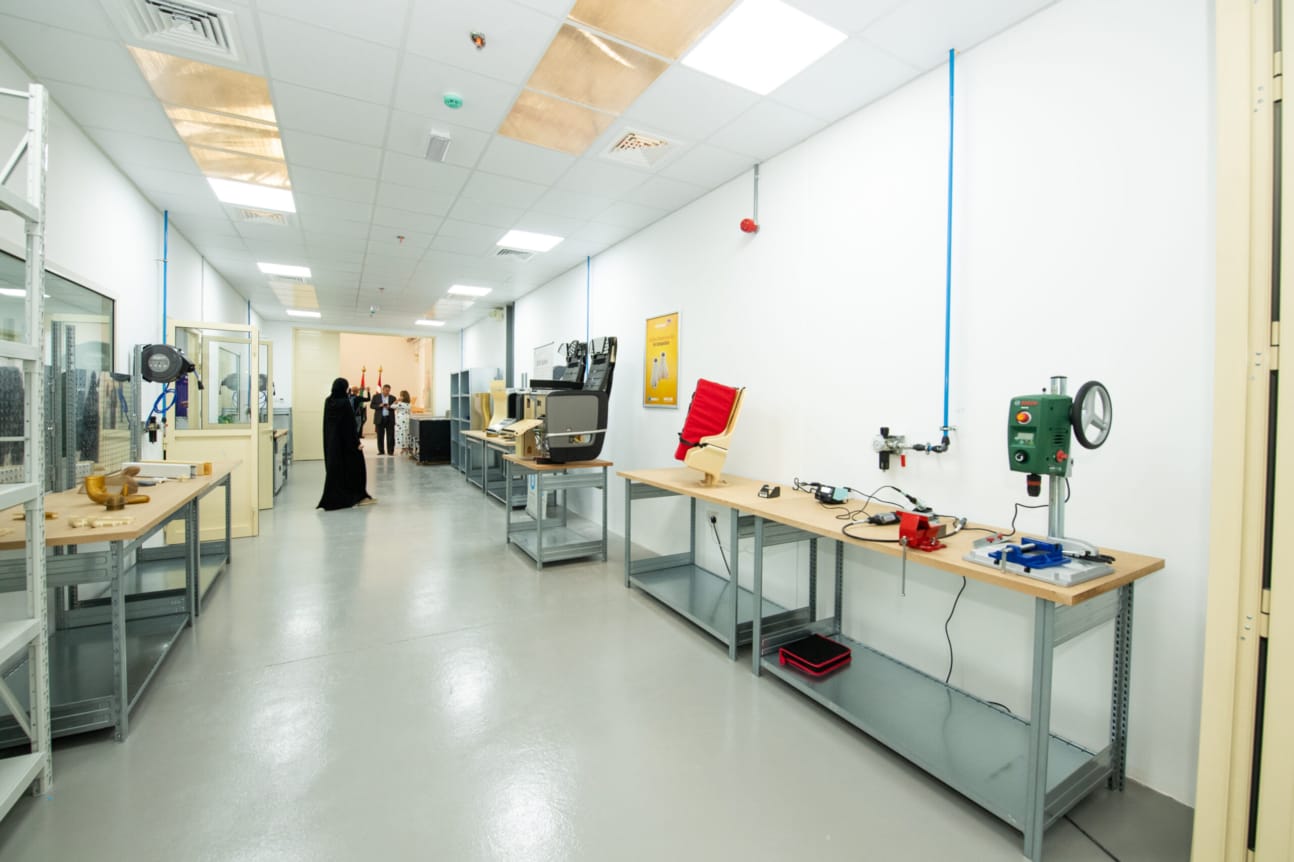
One accountable team from the first measurement to the inspection report.
View capabilitiesSend a drawing, a CAD file, or photographs and the old part. Tell us what it does, how many you need and when.